12 Stunning Hollywood Waves Hairstyles to Try Now
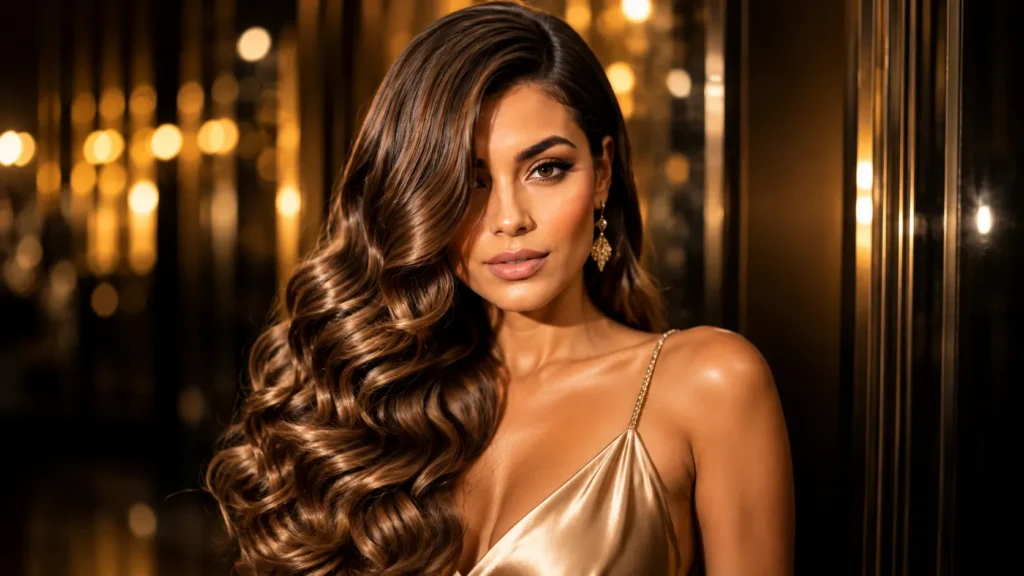
There’s a certain kind of hair envy that hits when an old movie comes on—that glossy, perfectly rounded wave that looks effortless. I’m asked for “old Hollywood hair” constantly, and clients are always surprised by how achievable it is at home. The secret isn’t talent; it’s technique and choosing the right method for your hair. Here’s everything I’ve learned about creating this timeless look.
My Styling Notes
I’ll never forget a bride whose Hollywood waves stayed flawless for hours during her air-conditioned trial, only to go soft within 45 minutes of her humid outdoor wedding. That experience taught me that the environment matters just as much as the styling technique. Following core hair styling tips, using climate-appropriate anti-humidity products is critical for keeping waves defined. Now I always keep anti-humidity spray and texturizing powder in my kit for days when Mother Nature decides to interfere.
12 Timeless Secrets to Mastering Effortless Hollywood Waves
1. What Are Hollywood Waves, Really?
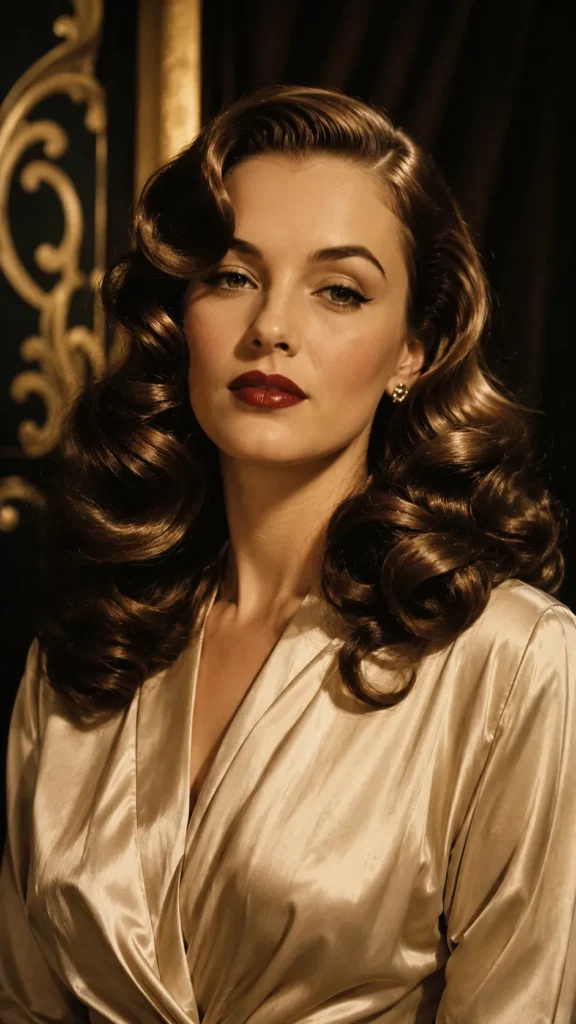
Hollywood waves are that big, glossy, S-shaped curl pattern that looks like it was poured onto your head rather than styled strand by strand. Think Marilyn Monroe, Rita Hayworth, and every red carpet moment where the hair looks almost too perfect to be real. The whole point is uniformity. Every wave curves the same direction, sits at the same height, and catches light like it’s been polished.
This is different from beach waves or those loose, undone curls everyone’s been doing for the last decade. Beach waves want texture and movement going every which way. Hollywood waves want control. One thing I always tell my clients is that if your curls look a little too neat and structured, you’re doing it right, not wrong.
2. Who This Look Actually Works For
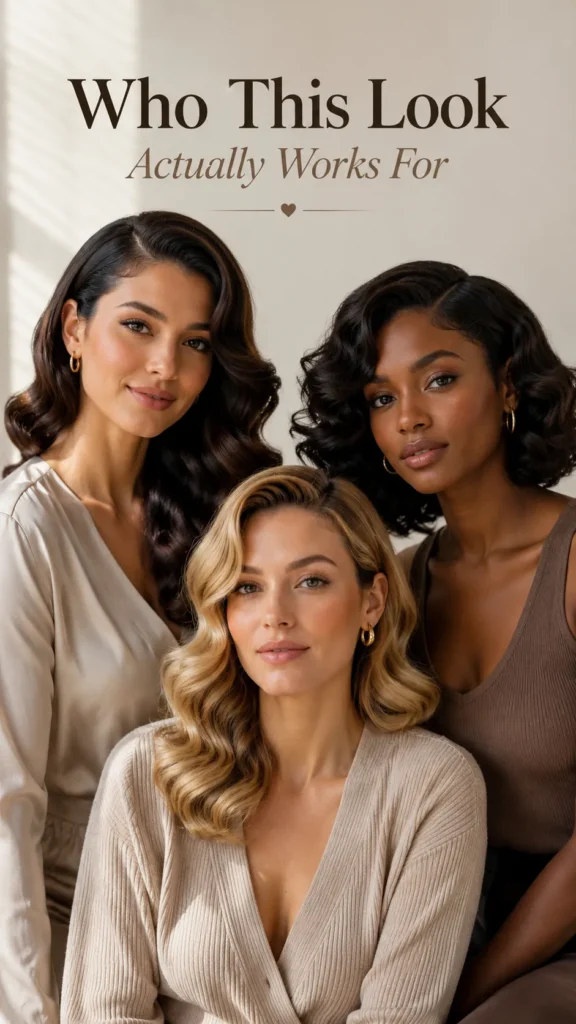
Here’s my honest take, because I’m not going to pretend this style is one-size-fits-all. Hollywood waves genuinely work best on medium to long hair with some natural body to grab onto, but that doesn’t mean short or fine hair is out of the running.
A few things I’ve noticed after years of doing this on every hair type imaginable:
- Fine or thin hair needs extra prep work (texturizing spray, root lift) or the waves fall flat within an hour
- Very curly or coily hair usually needs a smooth blowout first, otherwise the wave pattern gets lost in your natural texture
- Shorter hair, like a bob, can absolutely pull off a mini version, you’ll just curl closer to the root
3. The Tools You Actually Need
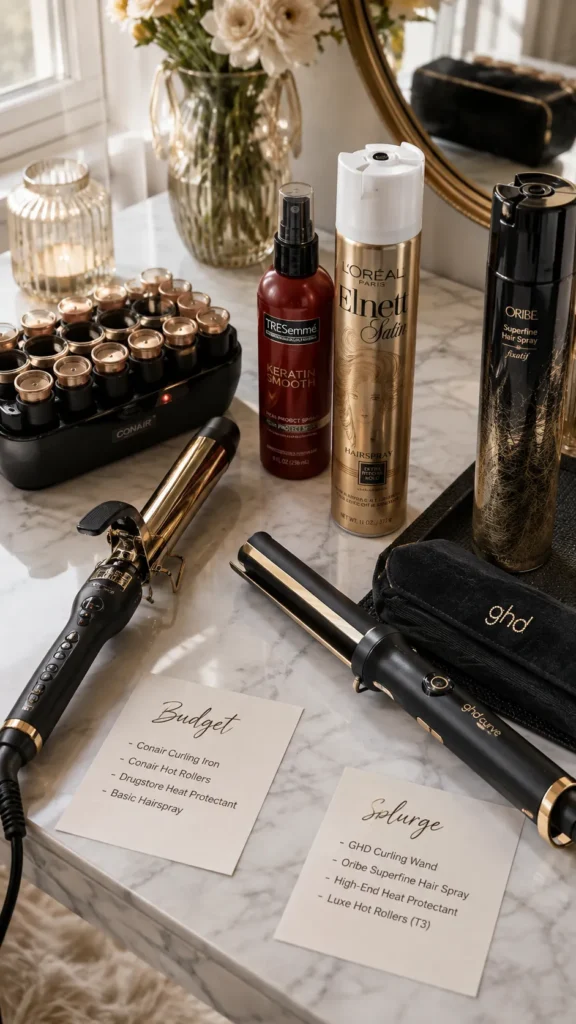
You do not need to spend $300 on a curling iron to get this look, and honestly, I get a little annoyed when beauty articles make it sound like you do. A solid one-inch to one-and-a-quarter-inch barrel curling iron is your workhorse tool here, whether you are creating soft modern waves or structured vintage finger waves. There are genuinely great drugstore options in the $20 to $40 range that’ll get you 90% of the way there.
Where I do think splurging matters is heat protectant and a good fixing spray or powder. Cheap heat protectant tends to feel greasy and weighs hair down, which fights against the volume you’re trying to build. My kit staples are a ceramic or titanium barrel iron, a boar bristle brush, alligator clips for sectioning, and a strong-hold hairspray that doesn’t turn crunchy. Rollers are a nice-to-have if you’re patient, but not a must for beginners.
4. Prep Work That Makes or Breaks the Style
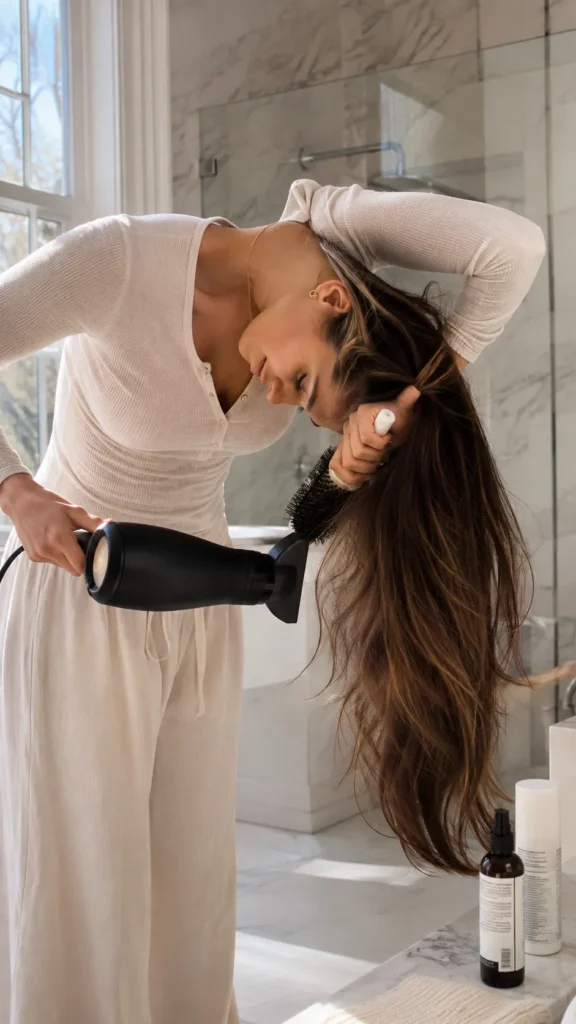
I cannot stress this enough. Prep is where most people lose the battle before they’ve even picked up a curling iron. Clean, freshly washed hair actually holds curl worse than hair that’s a day or two old, so if you can, skip the same-day wash.
Start with a thorough blow-dry using a round brush, ideally lifting at the roots as you go to build in volume from the start. Apply your heat protectant while hair is still damp, never after it’s dry. A quick trick I’ve learned over the years is to rough-dry your hair upside down for the first few minutes. It sounds silly, but it builds a foundation of root lift that makes every wave after it look fuller and more intentional.
Which of these Hollywood wave methods are you trying first, the curling iron, the rollers, or the no-heat overnight version?
5. The Curling Iron Method
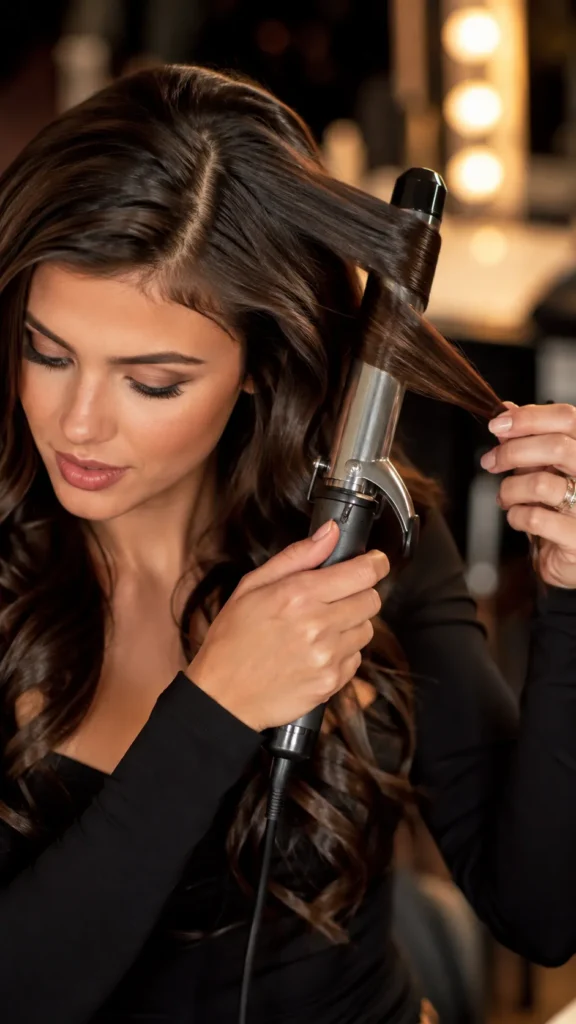
This is the technique I reach for most, mostly because it gives you the tightest control over placement and direction. Start by parting your hair deep on one side, this is basically non-negotiable for that authentic Hollywood look. Then section your hair into two to three inch pieces, no bigger, or you’ll lose definition.
Wrap each section around the barrel, working horizontally for that bold, bouncy volume, and holding the curl for about eight to ten seconds. Here’s the part everyone skips: curl every single section in the same direction, away from your part, all the way around your head. Pin each curl flat against your scalp with a clip the second you release it, and let it cool completely before you touch it. That cooling step is honestly what separates a curl that lasts all day from one that drops in twenty minutes.
6. The Hot Rollers Method
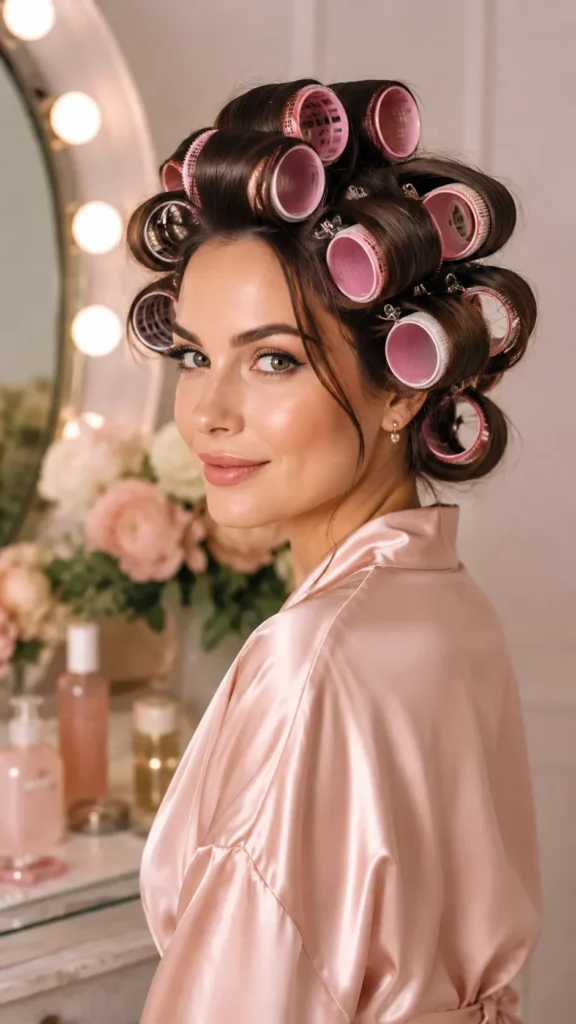
If you’re newer to this or your arm gets tired holding a curling iron for forty minutes, rollers are genuinely your friend. They work best when your hair is already smooth and blown out, so don’t skip that prep step from earlier.
- Section hair the same way you would for a curling iron, two to three inch pieces
- Roll away from your part, rolling under and lifting at the root for volume
- Let the rollers sit for a full 20 to 30 minutes before removing, this patience pays off
Once they’re out, gently brush through with a boar bristle brush and finish with shine spray. It’s a slower method, but the payoff is waves that tend to last longer with less frizz.
Quick Grab-and-Go Shopping Guide
| Look / Item | Estimated Price | Care Level | Where to Buy |
|---|---|---|---|
| Curling Iron (1-1.25″) | $20-40 | Medium | Curling Iron on Amazon |
| Hot Rollers Set | $30-60 | Low | Hot Rollers on Amazon |
| Heat Protectant Spray | Under $20 | Low | Heat Protectant on Amazon |
| Strong-Hold Hairspray | Under $15 | Low | Hairspray on Amazon |
| Anti-Humidity Spray | Under $20 | Low | Anti-Humidity Spray on Amazon |
| Silk Pillowcase/Scarf | $15-35 | Low | Silk Pillowcase on Amazon |
7. The Pin Curl Method
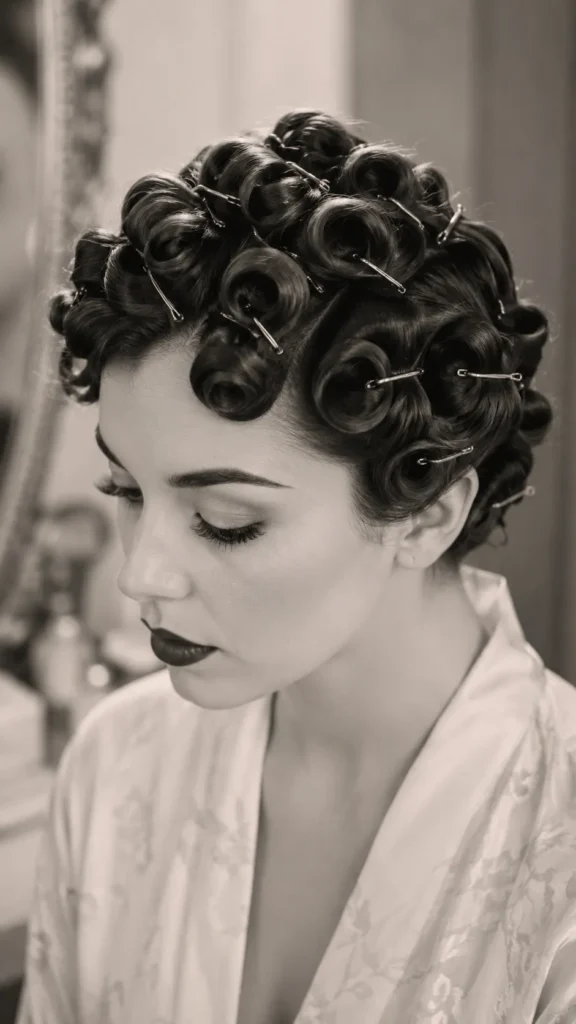
Pin curls are the old-school technique, and I mean that as a compliment. This is genuinely how it was done before curling irons existed, and it still produces some of the smoothest, most uniform waves out there.
Wrap small sections of hair around your finger to form a tight loop, then pin the loop flat against your scalp. My favorite way to use this method isn’t as a standalone technique though, it’s as a follow-up after curling with an iron. Once you curl a section, immediately pin it into that same curled shape while it’s still warm and let it set. This locks in the memory of the curl so much better than just letting it hang loose to cool.
8. No-Heat Option
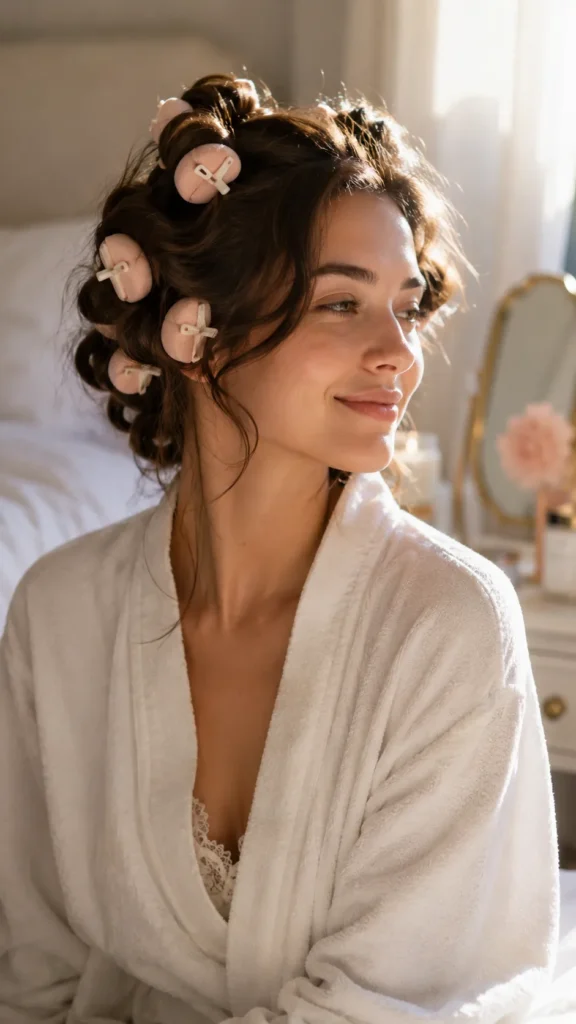
I get asked about this constantly, especially from clients trying to cut back on heat damage, and yes, it’s possible, it just takes patience. Damp hair set in pin curls or on foam rollers overnight will give you a softer, less crisp version of the wave when you wake up.
The trade-off is real texture and definition compared to hot tools. Your waves won’t be quite as sharp or long-lasting, but if your hair is already prone to breakage or you’re trying to give it a break, this is a genuinely solid option to keep in rotation once or twice a week.
What’s the one thing about your hair routine you’re most ready to change after reading this?
9. Hollywood Waves for Long Hair
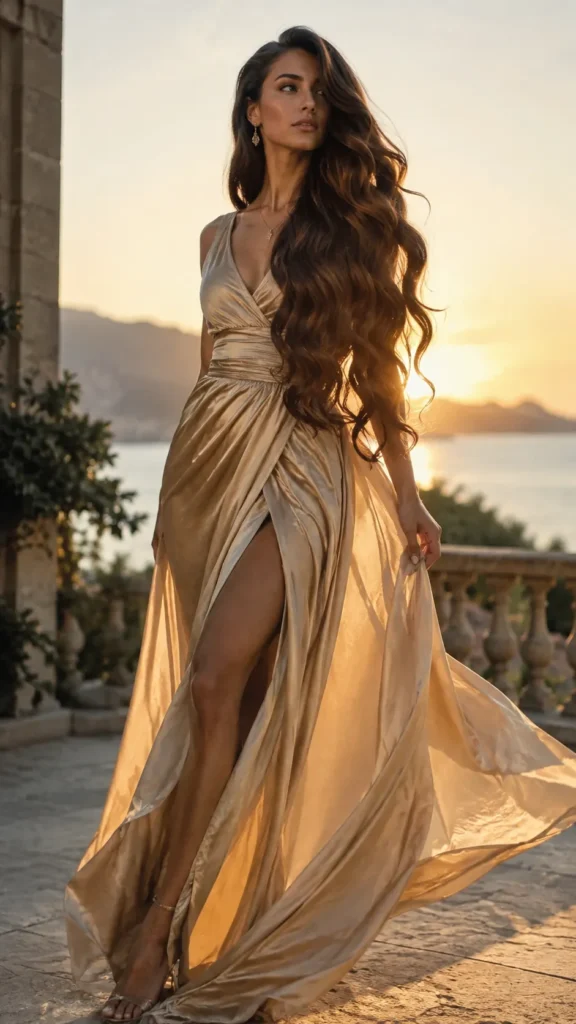
Long hair is honestly the easiest canvas for this look, and I say that as someone who’s curled hundreds of heads. You’ve got enough length to work with two to three full sections per side, which means more waves, more movement, and a fuller finished look overall.
The one thing I’ll warn you about is weight. Really long, heavy hair can sometimes pull curls out faster than shorter lengths, so I always recommend a stronger hold hairspray and, if your hair is fine, a texturizing spray at the roots before you even start curling. Rollers tend to work beautifully here since you have plenty of length to wrap without the ends slipping out.
10. Hollywood Waves for Medium Hair
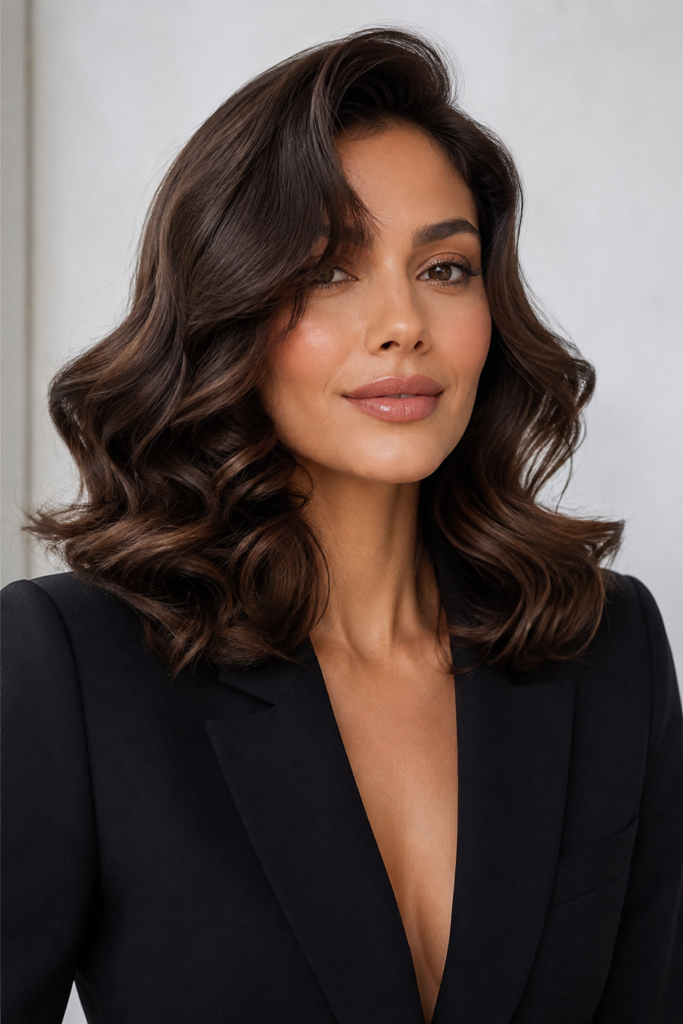
Medium length hair, think shoulder to collarbone, is actually my personal favorite length for this style. It hits that sweet spot where you get gorgeous wave definition without hair being so long that it drags the curl down under its own weight.
A couple of things that make a real difference at this length:
- Keep your sections slightly smaller than you would for long hair, closer to two inches
- Curl a little closer to the root since there’s less length to build volume with lower down
The waves at this length tend to look a bit more modern and less costume-y right out of the gate, which a lot of my clients love if they want the glam factor without looking like they stepped off a 1940s film set.
11. Hollywood Waves for Short Hair
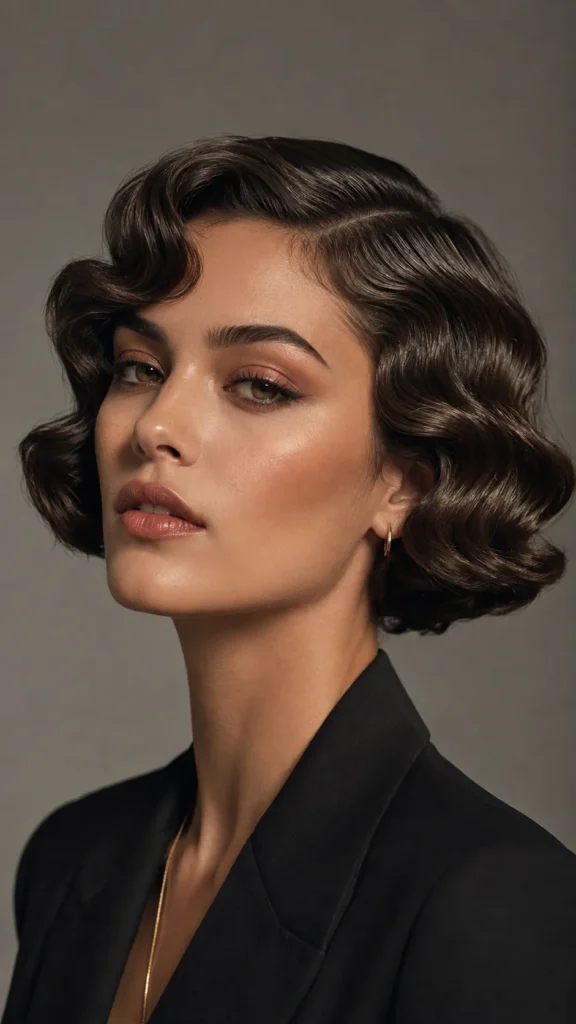
Short hair, think a bob or lob, absolutely can rock this style, it just needs a slightly different approach. Since you don’t have much length to play with, curl right at the root and use a smaller barrel, around three-quarters of an inch to one inch, so the wave pattern actually shows up instead of getting lost.
I’ll be honest, this version won’t have the same dramatic sweep as long hair waves, but there’s something really chic about a shorter, tighter Hollywood wave. It reads more polished and structured, almost like a modern take on a finger wave. Pin curls work exceptionally well here since you’re not fighting against a lot of length or weight.
12. Stunning Hollywood Waves Styles to Try Now
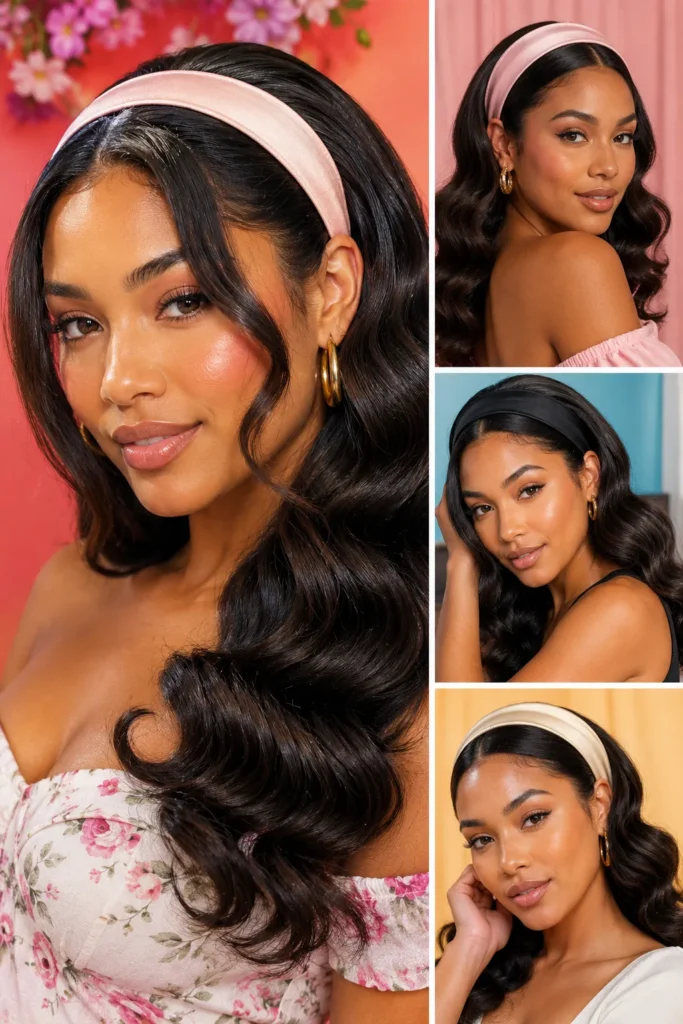
Alright, this is the part you’ve been waiting for. Here are twelve ways to wear this look depending on your vibe, your event, and honestly, how much time you’ve got.
- Classic vintage deep side part — the most iconic version, curls swept dramatically to one side
- Modern soft wave — looser, more relaxed curl for everyday wear
- Half-up Hollywood wave — waves left down with the top section pinned back
- Bridal Hollywood waves — usually paired with a low, romantic updo or veil placement
- Waves with a headband — a playful, slightly retro twist
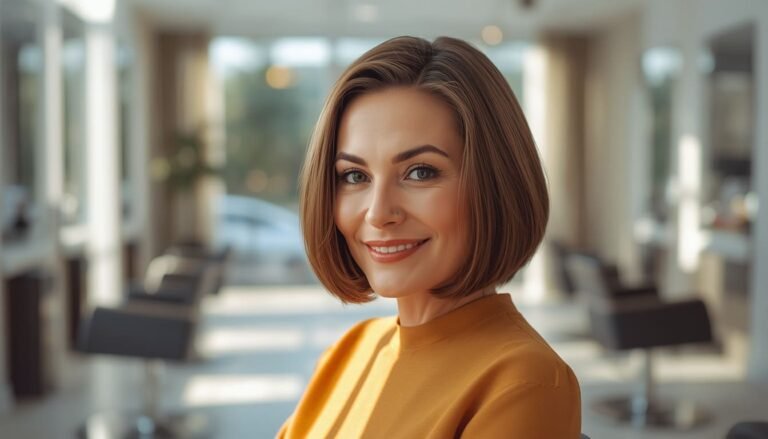
- Waves on a bob — short and structured, very editorial
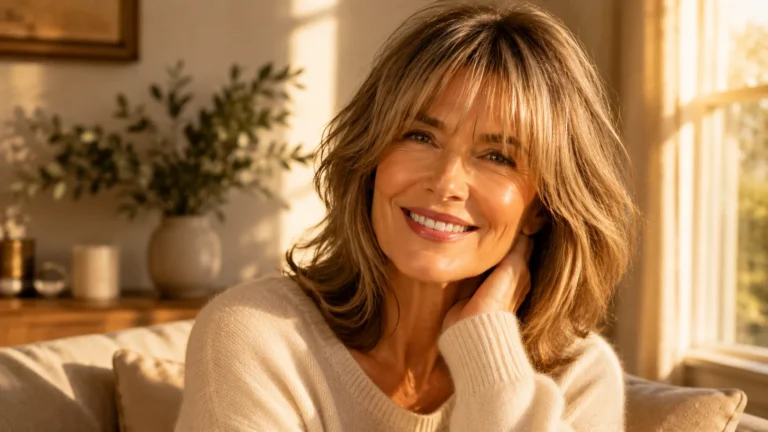
- Waves with curtain bangs — softens the whole look beautifully
- Center-part Hollywood wave — a more modern, symmetrical take
- 90s glam wave — slightly looser and glossier, less rigid than the classic version
- Waves with a low bun — waves framing the face, hair swept back and secured
- Undone textured wave — a lived-in version for those who don’t want it too perfect
- Color-enhanced wave — balayage or highlights that catch the light as the curl moves, gorgeous on dimensional color
My personal favorite for client sessions is honestly the modern soft wave. It photographs beautifully and doesn’t scream costume, which is what most of my clients actually want.
Your 60-Second Wave Method Picker
By Budget
Budget-Friendly Picks
- Drugstore curling iron, $20-40 range → shop on Amazon
- Basic heat protectant spray, under $15 → shop on Amazon
- Foam rollers for no-heat waves, under $10 → shop on Amazon
Worth the Splurge
- Ceramic/titanium pro curling iron, $80-150 → shop on Amazon
- Silk pillowcase for overnight hold, $25-35 → shop on Amazon
- Salon-grade anti-humidity spray, $20-30 → shop on Amazon
By Lifestyle
Busy Professionals
- Hot rollers, set and forget while you get ready → shop on Amazon
- Dry shampoo for fast day-two refresh
Hot & Humid Climates
- Anti-humidity spray, non-negotiable
- Stronger hold hairspray, skip the light-hold formulas
Weekend & Low-Maintenance Days
- No-heat pin curl method overnight
- Texturizing spray for undone, casual waves
New Moms & Short-on-Time
- Smaller barrel curling iron for quick root curls
- Curl only the front face-framing pieces for a fast, polished effect
Frequently Asked Questions
How long do Hollywood waves last?
Yes, they typically hold anywhere from 1 to 3 days depending on your hair type and the method you used. Curling iron waves tend to fade faster than roller-set waves, and humid climates will cut that time down significantly.
What’s the best curling iron size for Hollywood waves?
I usually recommend a 1 to 1.25 inch barrel for most hair lengths, since it gives you that classic bold, bouncy wave without going too tight. If your hair is short, drop down to a three-quarter inch barrel so the curl doesn’t get lost.
Can I do Hollywood waves on short hair?
Absolutely, you’ll just curl closer to the root and use a smaller barrel than you would for long hair. The waves won’t sweep as dramatically, but they’ll still read as polished and structured.
Are Hollywood waves good for a wedding?
Yes, this is one of my most requested bridal looks because it photographs beautifully and holds up well through a long day. If you are exploring timeless wedding hairstyles for long hair, this style offers elegance and structure. Just make sure to do a trial run beforehand and use a stronger hold product than you normally would.
How do I keep Hollywood waves from falling flat?
The biggest culprit is usually skipping heat protectant or not letting your curls cool before brushing them out. Pin each curl flat against your scalp right after curling and don’t touch it until it’s fully cooled, that step alone makes a huge difference.
Conclusion
Here’s the thing about Hollywood waves, once you get the technique down, you’ll never look at your curling iron the same way again. This isn’t just a hairstyle, it’s the kind of look that makes you stand a little taller and catch your own reflection in a shop window without meaning to. Grab whatever tool you already own, whether that’s a curling iron sitting in your drawer or just a scarf for the no-heat method, and give it a real try this week. Your hair genuinely doesn’t need a special occasion to look this good