
13 Hairstyles for Women Over 60 With Thin Hair That Add Volume
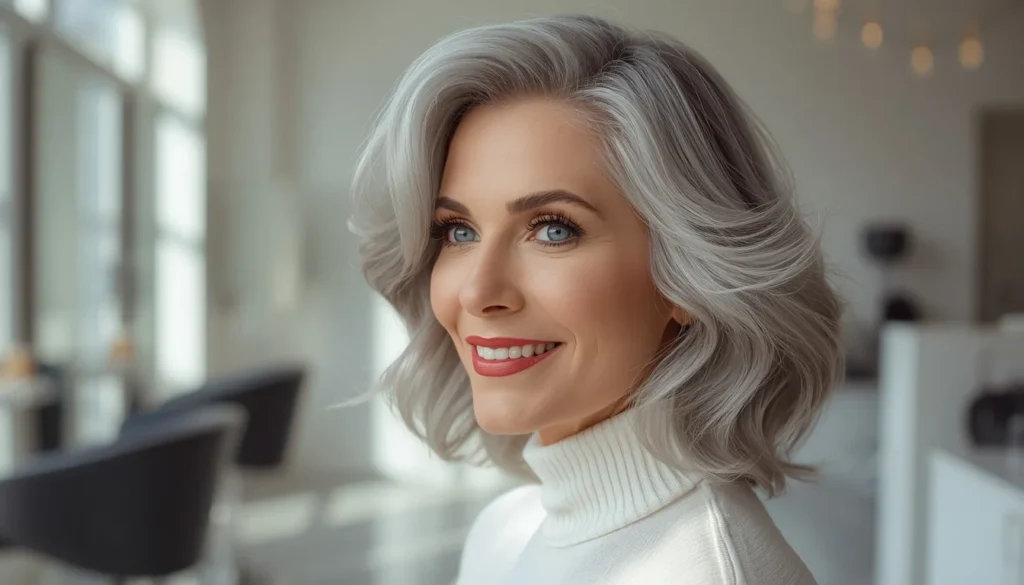
If your hair could talk right now, it would probably ask why it’s suddenly so tired all the time. Fine, flat, and refusing to hold a curl past ten in the morning, thin hair after 60 has a way of making even a great blowout feel like a losing battle by lunchtime. I’ve sat with enough clients over coffee and horror stories about limp roots to know it’s not you, it’s the cut. The right style changes everything, and these thirteen are the ones I actually recommend in my chair.
My Styling Notes
I’ll never forget the client who flew down to Florida for her granddaughter’s beach wedding and called me that morning in a full panic. Her blowout, the exact same one we’d done together a dozen times before, had gone completely flat within an hour of landing. Same products, same technique, totally different climate, and totally different result. That’s when it really clicked for me just how much humidity changes the game for thin hair. We ended up reworking her whole routine around lighter, root focused products instead of the heavier creams she’d always relied on, and the difference was night and day. I tell every client this now. Your cut matters, but your climate matters just as much, and almost nobody talks about that part.
13 Effortless Ways to Style Thin Hair for a Stunning, Age Defying Look After 60
1. Why Thin Hair Changes After 60 and Why Length Is Usually the Enemy
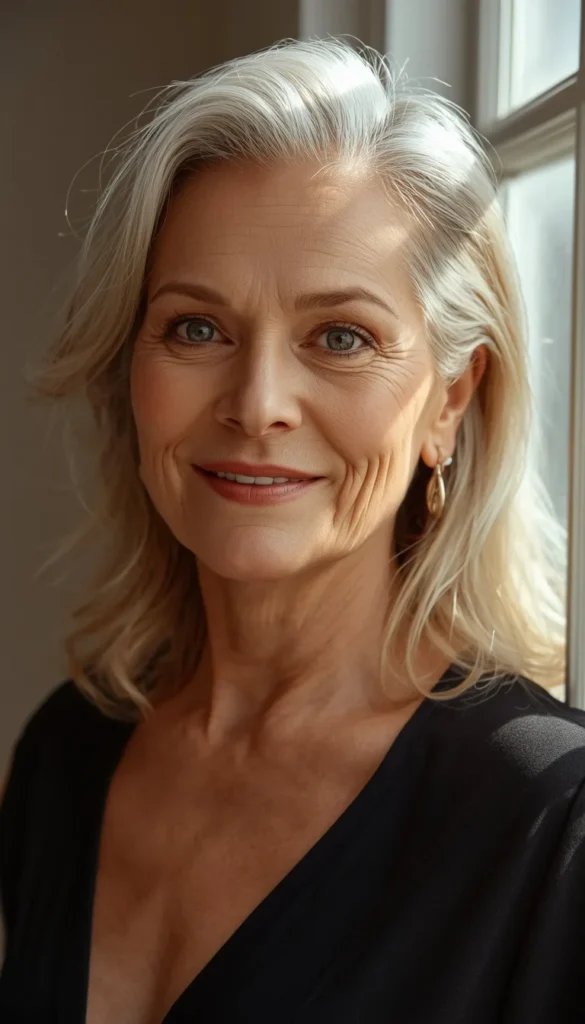
Let’s talk about what’s actually happening, but the fun version, not the biology lecture. As estrogen drops during and after menopause, hair follicles shrink slightly with every growth cycle, so each new strand comes in a touch finer than the last. It’s not something you’re doing wrong, and it’s definitely not just you.
Here’s the part almost nobody explains clearly. The instinct is to hold onto length because more hair feels like it should mean more volume. It’s actually the opposite. Long hair carries more weight, and weight is the enemy of fine strands. Gravity pulls thin hair flat against the scalp no matter how much mousse you throw at it.
The real goal isn’t more hair. It’s more visible density, and a shorter or medium cut with the right internal structure will always read fuller than long hair, even with the same amount of strands on your head. Once that idea clicks, choosing a cut gets so much easier.
2. The Feathered Pixie for Maximum Volume With Minimum Effort
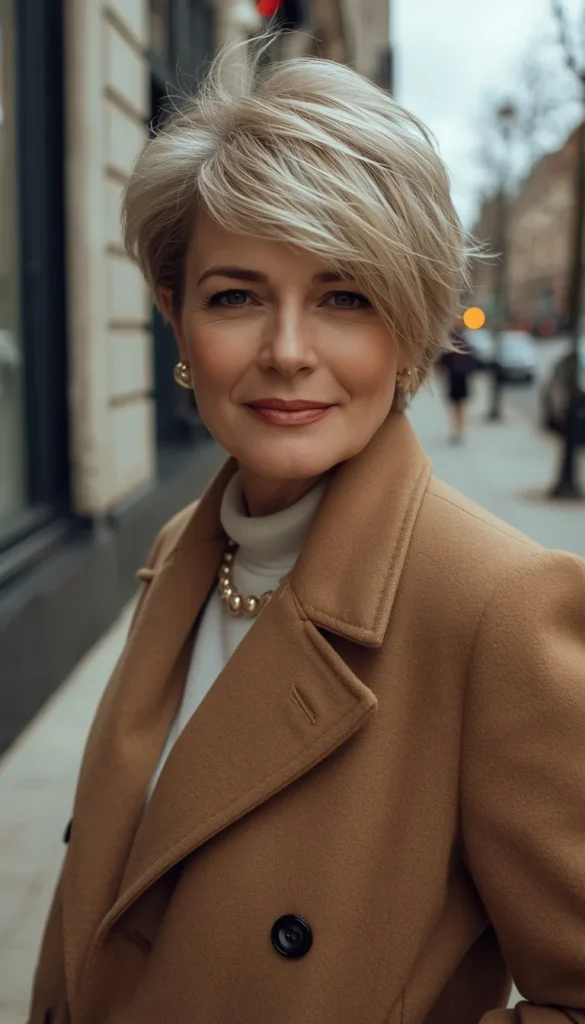
This is the cut that does almost all the work for you. Soft, wispy layers concentrated at the crown and around the face create genuine thickness without you lifting a finger past a towel dry.
Short hair has barely any weight pulling it down, so every strand actually gets to stand up and do its job instead of collapsing under its own length. The feathering keeps movement in the ends so it never looks stiff or helmet like, which is the number one fear I hear from clients thinking about going short.
One thing I always tell my clients considering this cut is to be honest about their salon schedule.
- It needs trims every four to five weeks to keep its shape
- Skip that window and it starts looking shaggy in the wrong way
- A dime sized amount of texturizing paste on damp hair is all the daily styling it needs
Skip anything heavy like pomade or wax here. Thin hair and heavy product are not friends, no matter how good the bottle smells.
3. The Volumizing Shag With Curtain Bangs

The shag has had a real comeback, and it’s one of my favorite recommendations for thin hair because it works with texture instead of fighting it. Heavy layering through the crown and mid lengths builds volume exactly where thin hair needs it, and curtain bangs soften everything while framing the face beautifully.
Here’s the honest part though, because that’s the whole point of me being here. This is not a wash and go style, no matter what the Pinterest caption promises. It genuinely needs product every single day to look intentional instead of just messy. Skip the styling step and a shag on thin hair flattens fast, and not in the cute lived in way.
If you’ve got ten or fifteen spare minutes most mornings, this cut rewards you every time. If you want true wash and go simplicity, I’d point you toward the pixie instead. It’s less about which cut wins and more about matching the style to the routine you actually have, not the one you wish you had.
Climate changes the product too. A salt spray on damp hair before diffusing gives humid climate hair that lived in texture without frizz taking over, while drier climates do better with a cream based texturizer since salt sprays can pull out moisture that’s already in short supply.
4. The Textured Bob With Root Lift
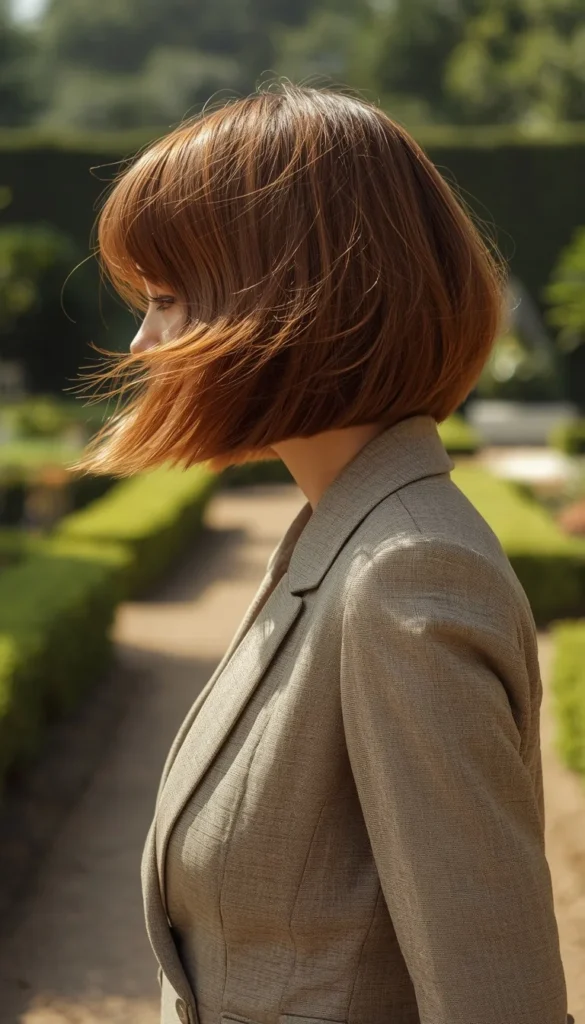
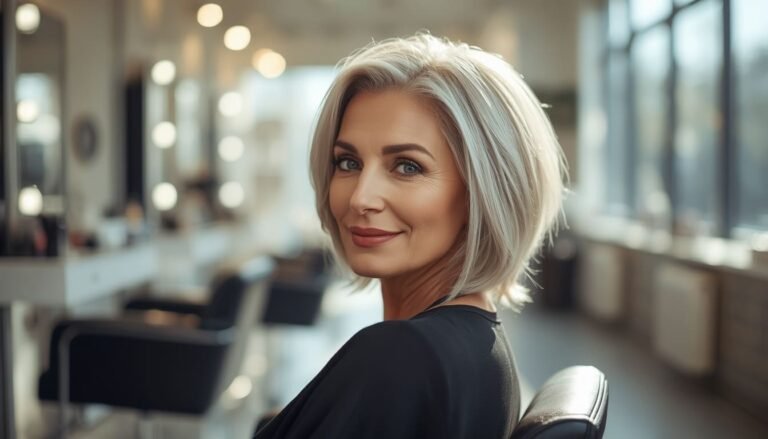
If I had to pick one universally safe recommendation in this whole article, this would be it. A textured bob with strategic root lift flatters nearly every face shape and works whether your hair is straight, wavy, or somewhere in between.
The cut relies on shorter internal layers near the crown that physically lift the hair away from the scalp, paired with slightly longer pieces around the perimeter that give the illusion of a fuller, denser hemline. It’s a clever bit of hairdresser math that most clients never even notice is happening.
Styling is refreshingly simple. Rough dry with your fingers first, lifting at the roots as you go, then finish with a round brush only if you want extra polish for something like a dinner out. A lightweight root spray before you even pick up the dryer makes a noticeable difference, and trims every six to eight weeks keep the shape from growing out unevenly.
Which one of these thirteen cuts are you most tempted to try first?
5. The Angled Lob for Women Not Ready to Go Short

Not everyone wants to say goodbye to length, and honestly, you don’t have to. An angled lob, longer in the front and shorter in the back, gives you that in between sweet spot where you still get to feel like yourself while gaining real structure.
The shorter back layers lift away from the nape and stop that flat, collapsed look that thin hair tends to get once it passes shoulder length. The longer front pieces frame your face and create the impression of more density overall, even though you’re really just working with clever angles.
I’ll be straight with you on this one. It needs regular trims every six to eight weeks, because the whole effect depends on that angle staying sharp. Let it grow out and the structure softens, and suddenly you’re back to flat ends doing nothing for you.
6. Soft Shoulder Length Waves

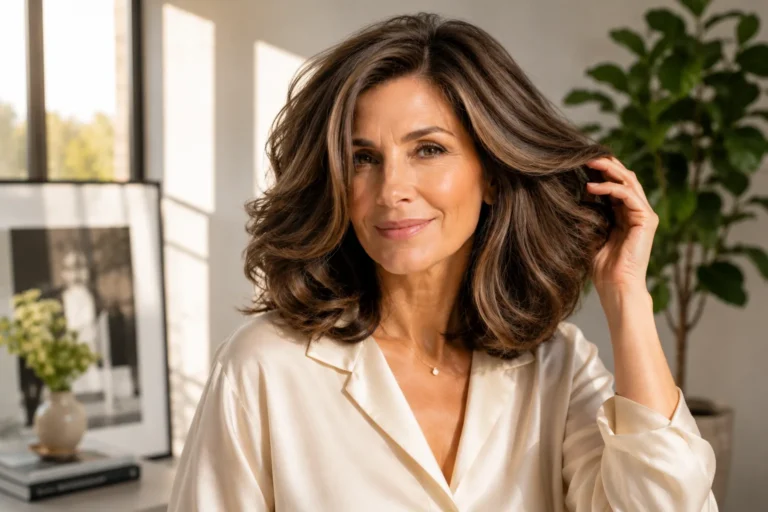
If you’re not ready for short hair at all, waves are your best friend. Curling or waving thin hair adds instant lift and dimension in a way that straight styling just can’t compete with, and shoulder length is the sweet spot where you get movement without gravity pulling all the volume back out of your roots.
A quick trick I’ve learned after way too many humid summers is that your climate should decide your curling iron size and your finishing product just as much as your hair type does.
- In humid climates, go for a slightly smaller barrel and finish with a lightweight texture spray instead of heavy hairspray
- In drier climates, a bigger barrel gives softer waves that hold beautifully with a touch of anti static cream
- Either way, blow drying upside down first builds root volume before you even pick up the curling iron
This style takes a little more morning time than a pixie, usually ten to fifteen minutes, but for a lot of my clients that trade off is worth it for the extra length.
TOP 6 hairstyles for women over 60 with thin hair
| Look / Item | Estimated Price | Care Level | Where to Buy |
|---|---|---|---|
| Feathered Pixie Cut | 45 to 75 dollars per trim | Low | Texturizing Paste on Amazon |
| Volumizing Shag with Curtain Bangs | 60 to 90 dollars per cut | Medium | Salt Texture Spray on Amazon |
| Textured Bob with Root Lift | 55 to 85 dollars per cut | Low | Root Lift Spray on Amazon |
| Soft Shoulder Length Waves | 70 to 100 dollars per cut | Medium | 1.25 Inch Curling Iron on Amazon |
| Balayage for Density | 150 to 300 dollars | Medium | Purple Toning Shampoo on Amazon |
| Silk Pillowcase for Hair Protection | under 40 dollars | Low | Silk Pillowcase on Amazon |
7. The Low Maintenance Wash and Wear Crop

This one is for my clients who tell me, with total honesty, that they will not be doing a ten step routine every morning, and I respect that completely. A wash and wear crop is cut with soft, rounded layers that fall into place with almost zero effort.
You genuinely towel dry, scrunch in a small amount of product, and walk out the door. That’s the whole routine.
Here’s where I always steer clients toward smart budgeting. You don’t need the fanciest bottle on the shelf for this cut to work. A drugstore mousse in the five to eight dollar range does just as much for volume as something triple the price, since the real magic here is coming from the haircut itself, not the product.
8. Face Framing Layers for Glasses Wearers

This is the one almost nobody talks about, and it drives me a little crazy because so many of my clients wear glasses every single day. Frames change how face framing pieces sit, and a cut that looks gorgeous on someone without glasses can suddenly clash with frames, get caught behind the arms, or just look flat against the lens.
When I’m cutting for a client who wears glasses daily, I keep face framing layers slightly shorter and angled away from the temple area where the frame arm sits. This keeps hair from getting tucked awkwardly behind the glasses every twenty minutes, which is a small thing that makes a surprisingly big difference in how put together you feel by the end of the day.
What’s the one thing about your hair right now that you’re most ready to change?
9. Bangs Yes or No After 60
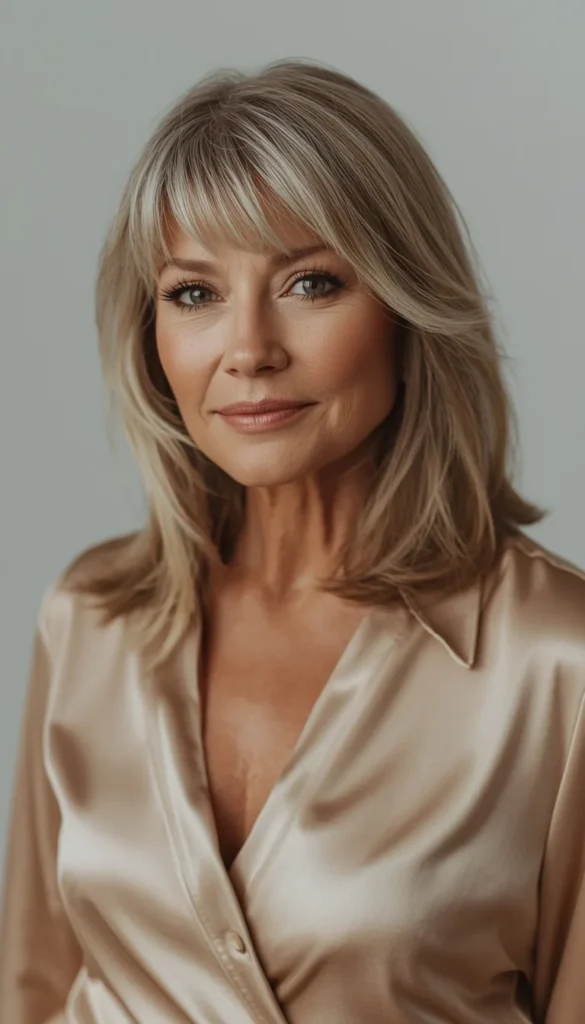
This question comes up in almost every consultation I do, and my honest answer is that it depends less on your age and more on your hair’s actual behavior. Thin hair tends to get oily faster right at the hairline, and bangs sit directly against the forehead where all that natural oil lives, so they can go from fresh to flat by early afternoon.
Side swept bangs are usually my go to recommendation because they add fullness across the forehead without creating one dense, heavy strip of hair that shows grease first. Full bangs can look stunning too, but they need more daily attention and a genuine commitment to dry shampoo between washes.
One thing I always tell my clients considering bangs is to keep a small travel size dry shampoo in your bag, not just on your bathroom shelf. A quick spritz at the roots midday brings bangs back to life in under a minute, and it’s the difference between bangs that work for your lifestyle and bangs you end up growing out in frustration three months later.
10. Color That Actually Adds Density Not Just Prettiness
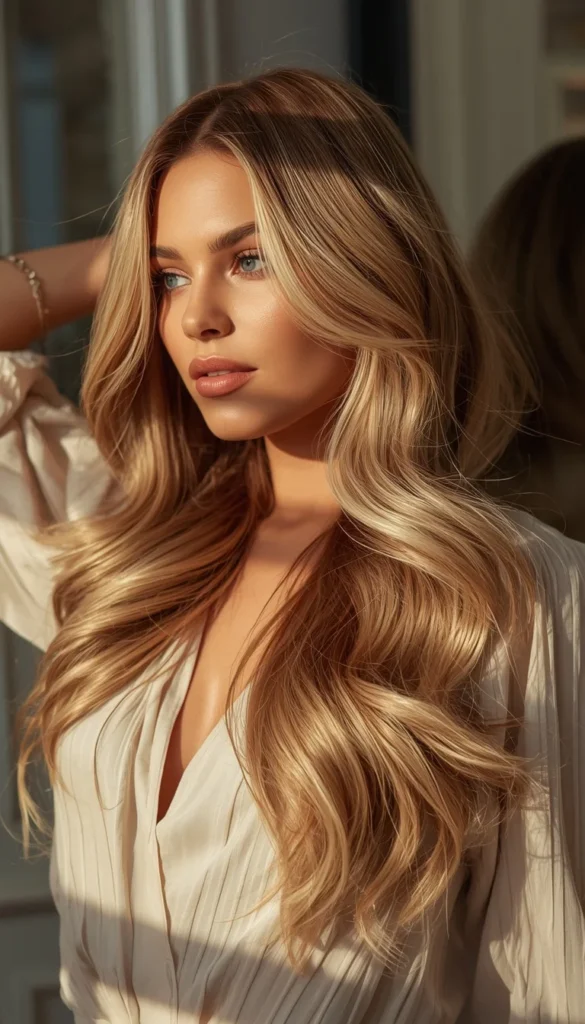
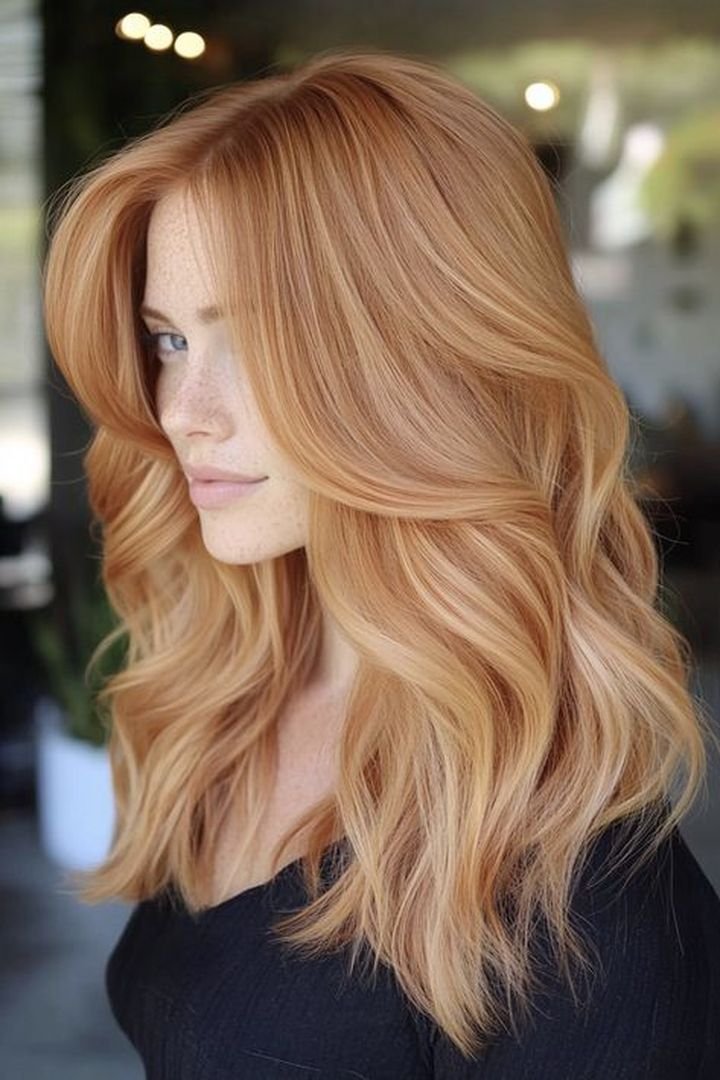
Color isn’t only about covering gray, even though that’s usually the first thing clients ask about. Dimensional color, things like balayage, subtle highlights, or soft lowlights, creates visual depth that tricks the eye into perceiving more thickness than what’s actually there.
Here’s the budget reality nobody puts in these articles. A full balayage typically runs somewhere between one hundred fifty and three hundred dollars depending on where you live, while a simpler set of face framing highlights can often be done for closer to eighty to one hundred fifty. If you’re working with a tighter budget, ask your colorist about a partial application focused just around the face and crown, since that’s where the density illusion matters most anyway.
For clients easing into gray, I usually recommend a soft, low contrast highlight pattern rather than jumping straight to full silver, since it blends the transition and hides regrowth lines far longer between appointments.
11. The Grow Out Survival Guide
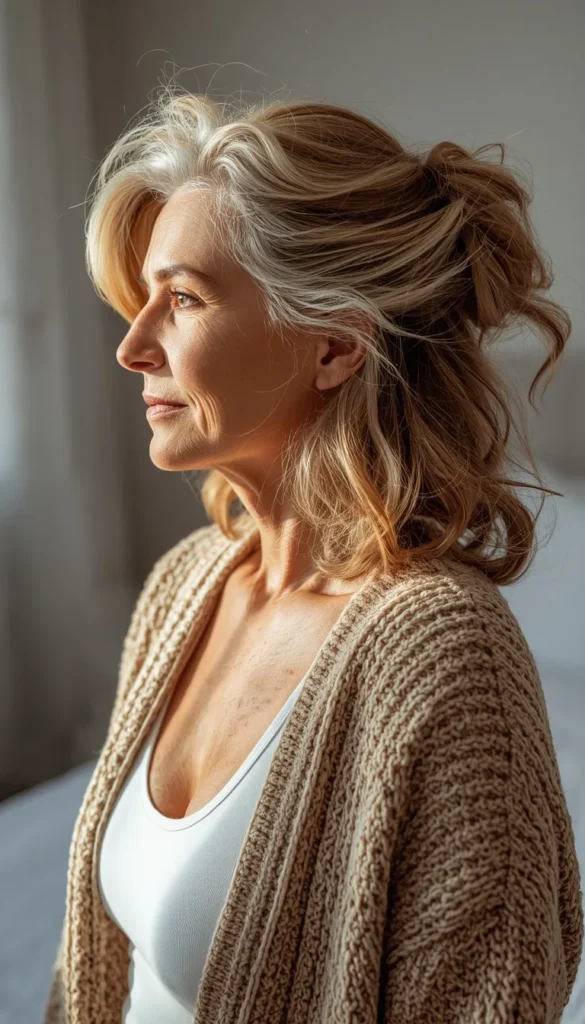
Nobody loves the in between stage, whether you’re growing out a pixie or just stretching time between trims because life got busy. The good news is there are real tricks for surviving those awkward weeks without feeling like your hair has taken over the whole conversation.
A few things that genuinely help:
- A texturizing spray at the roots disguises regrowth far better than a flat, smoothed down style does
- Pushing your part slightly off center hides thinning right at the crown, since hair naturally falls flatter along its usual part line
- A soft, tucked back style using a few small clips can buy you an extra week or two before that next appointment feels urgent
I always remind clients that a good cut is designed to grow out gracefully, so if yours is turning into a genuine emergency by week five, that’s useful information for your next conversation with your stylist about the shape itself.
12. Sleep Heat and Product Habits That Protect Thin Hair Long Term

Your hair spends about a third of its life on a pillow, and thin hair especially feels the friction of a regular cotton pillowcase. Switching to a silk or satin pillowcase genuinely reduces the breakage and tangling that comes from tossing and turning all night, and it’s one of the easiest upgrades you can make without changing your routine at all.
Heat styling deserves an honest word here too. A heat protectant isn’t optional for thin hair, since fine strands damage faster under high temperatures than thicker hair does. Keep your tools on a lower setting than you think you need, since thin hair genuinely styles at lower heat than most tools default to.
On the product side, less truly is more. Heavy creams and serums coat fine strands and weigh them down almost instantly, so a light hand with anything you apply keeps your volume from disappearing before lunch.
Out of all these options, which one actually fits your style and your budget best?
13. How to Pick the Right Cut for Your Lifestyle
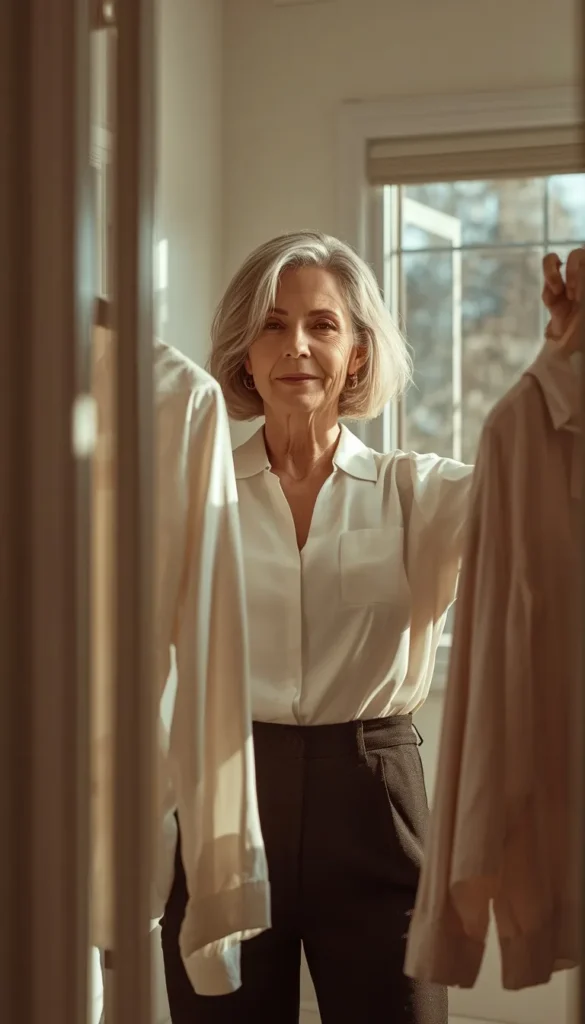
At this point you’ve got thirteen solid options, so let’s make the actual decision easier instead of harder. The truth is the best cut for you isn’t necessarily the prettiest one in the photo, it’s the one that fits your budget, your morning routine, and your climate all at once.
If mornings are tight and you genuinely want wash and go simplicity, the feathered pixie or the low maintenance crop are going to serve you best. If you’ve got a bit more time and love the idea of texture and movement, the shag or soft waves reward that extra effort every single time. For anyone not ready to say goodbye to length, the angled lob and shoulder length waves let you keep some length while still gaining real volume.
Climate should weigh in just as heavily as your schedule does.
- Humid regions do better with shorter, more structured cuts and lightweight, salt based products
- Drier climates can handle a bit more length and richer, cream based styling products
- Anyone dealing with daily glasses should mention that upfront in the consultation, since it changes how face framing pieces get cut
And budget wise, remember that a great cut is doing most of the heavy lifting here. You don’t need the most expensive color service or the priciest bottle on the shelf for these styles to work beautifully. A confident cut, styled with the right lightweight products for your specific climate, is what actually makes thin hair look full, healthy, and effortlessly chic at any age.
Your 60 Second Cut Picker
Budget Friendly Picks
- Feathered Pixie, lowest ongoing cost since there’s barely any product needed
- Low Maintenance Wash and Wear Crop, cheap cut plus a five dollar drugstore mousse does the job
- Textured Bob with Root Lift, one lightweight Root Lift Spray on Amazon covers all your styling needs
Worth the Splurge
- Balayage for Density, the color investment that makes hair look genuinely thicker
- Soft Shoulder Length Waves with a quality 1.25 Inch Curling Iron on Amazon
- Silk Pillowcase, small splurge, big payoff for breakage and frizz
Busy Mornings, No Time to Style
- Feathered Pixie
- Low Maintenance Wash and Wear Crop
Hot or Humid Climates
- Feathered Pixie or Textured Bob, both hold shape without fighting frizz
- Pair with a Salt Texture Spray on Amazon instead of anything cream based
Dry or Cold Climates
- Soft Shoulder Length Waves
- Angled Lob, richer cream products work in your favor here
Not Ready to Go Short
- Angled Lob
- Soft Shoulder Length Waves
Glasses Wearers Every Day
- Textured Bob with Root Lift
- Face Framing Layers, ask your stylist to angle pieces away from your frame arms
Weekend Casual, Low Effort
- Volumizing Shag with Curtain Bangs
- Wash and Wear Crop
Frequently Asked Questions
What is the best haircut for a woman over 60 with thin hair?
I usually recommend a feathered pixie or a textured bob with root lift for most clients. Both create real volume without demanding much daily effort, though the right pick still depends on your face shape and how much styling time you actually have.
Should thin hair be cut short or kept long past 60?
Shorter to medium length almost always wins here. Long hair gets weighed down by its own length, which pulls volume away from the roots and makes thinning areas more obvious, so keeping things between chin and shoulder length is your best bet.
Do layers help or hurt thin hair?
It depends entirely on the type of layer. Long, heavy layers can actually thin out the ends even more, while short, textured layers through the crown are exactly what builds volume and that fuller look you’re after.
How often should older women with thin hair get haircuts?
Every four to eight weeks depending on your style. Shorter cuts like pixies need trims every four to six weeks to hold their shape, while bobs and lobs can usually stretch to six or eight weeks between visits.
Can hair color really make thin hair look thicker?
Yes, dimensional color absolutely helps. Balayage, highlights, and lowlights create visual depth that tricks the eye into seeing more volume, and even a subtle highlight around the face can make a noticeable difference.
Conclusion
Your hair has carried you through decades of memories, and honestly, it deserves a cut that finally works with you instead of against you. Whichever style speaks to you most, book that consultation this week and tell your stylist exactly what your mornings actually look like, not what you wish they looked like. Small changes, the right layers, a smarter product, even a new part, add up to feeling like yourself again every time you catch your reflection. So tell me, which one of these thirteen are you trying first, and what’s the one hair struggle you’re still wrestling with?



5 Comments