13 Space Buns Ideas Too Cute to Scroll Past
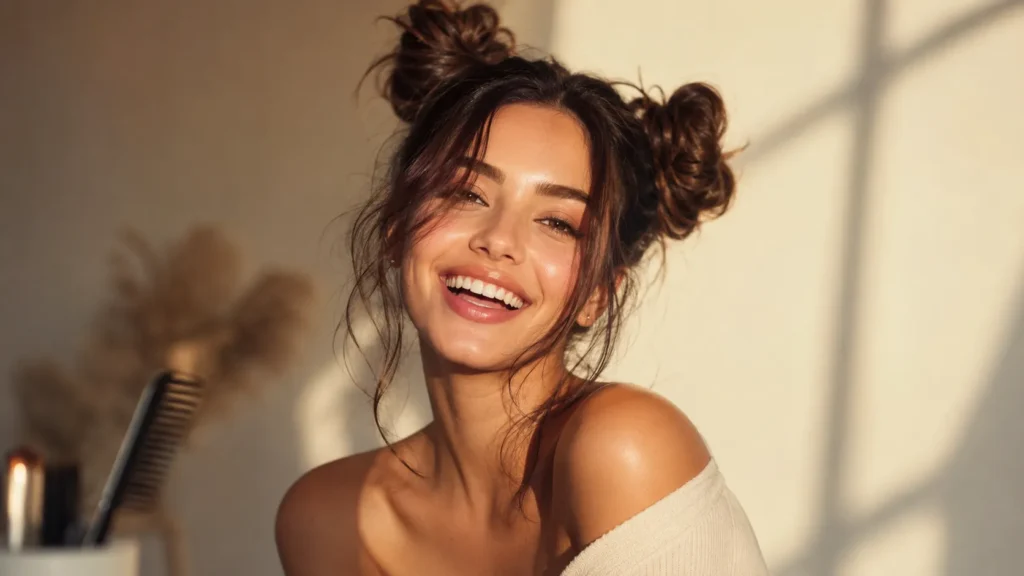
I used to think space buns were just a festival costume until a client showed up for her Tuesday morning meeting wearing them, and I realized I’d been sleeping on the easiest hairstyle in my whole kit. They take five minutes, work on hair that’s dirty, clean, short, or way too thick, and somehow still manage to look intentional every single time. My clients keep asking for the “cute messy” version like it’s some secret technique, when really it’s just knowing which thirteen ways to twist and tuck. So grab your comb, because I’m handing you every version I actually use, no fluff, no filler, just the good stuff.
My Styling Notes
I’ll never forget the rooftop shoot I did for a client’s engagement photos in Miami last July. Her space buns looked absolutely flawless when I finished, tight, even, camera ready. Then the humidity rolled in around golden hour and one bun just gave up while the other held on perfectly fine.
I scrambled through my kit for a travel gel stick and rebuilt it in about ninety seconds flat, pins and all. Following professional hair styling tips, applying even product and tension across both sides is critical for long-lasting hold in humid weather.
15 Easy Space Bun Styles to Elevate Your Look
1.Classic Sleek Space Buns
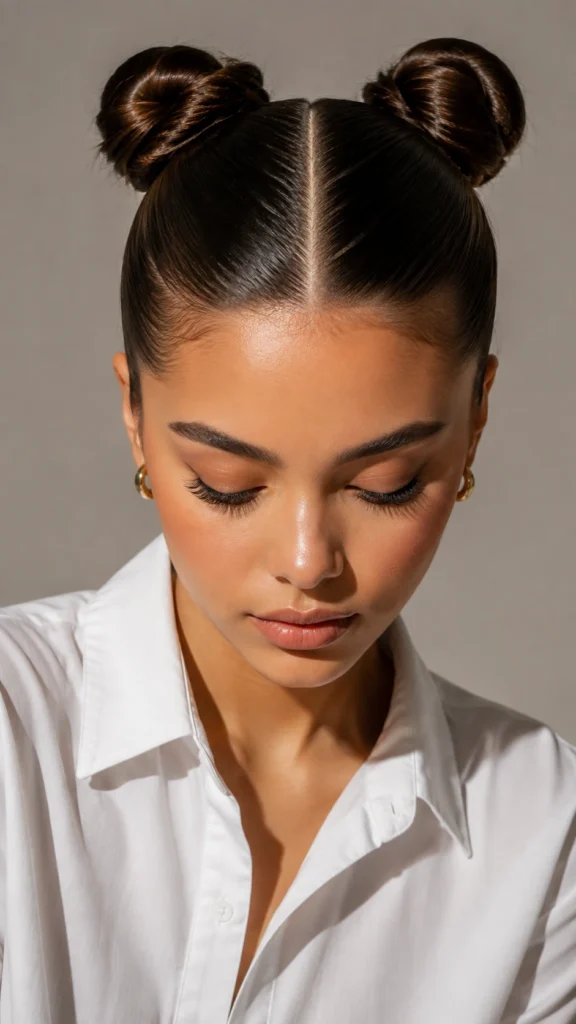
This is the version I go to when a client wants polish without looking overdone. Built on classic hair bun techniques, you part the hair straight down the middle, gather each side into a tight high ponytail, then wrap the length around the base until it disappears completely. A boar bristle brush and a strong gel are your best friends here. because any bump or flyaway will show immediately on this style. One thing I always tell my clients is to brush each section before you even touch the elastic, since fixing lumps after the fact never really works.
2.Messy Undone Space Buns
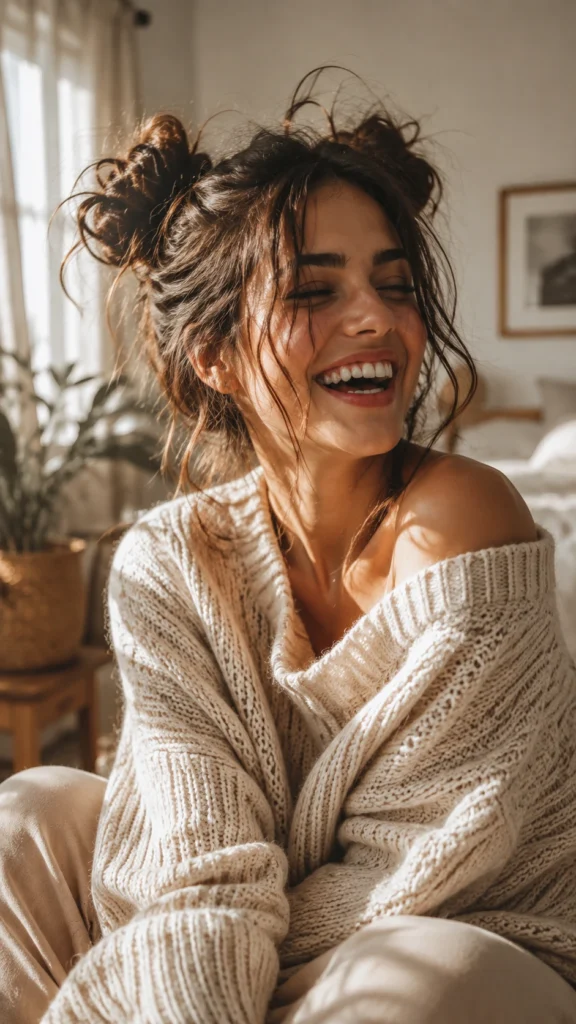
Honestly, this might be my favorite version to create because it forgives basically everything. Loose ends poking out, slightly uneven buns, a little frizz around the edges, it all just adds to the vibe instead of ruining it.
- Pull a few tiny pieces loose around your face before you finish
- Loosen the bun itself with your fingers instead of keeping it tight
- Skip the fine tooth comb entirely and just use your fingers to part
It takes about half the effort of the sleek version and somehow photographs better.
3.Half Up Space Buns
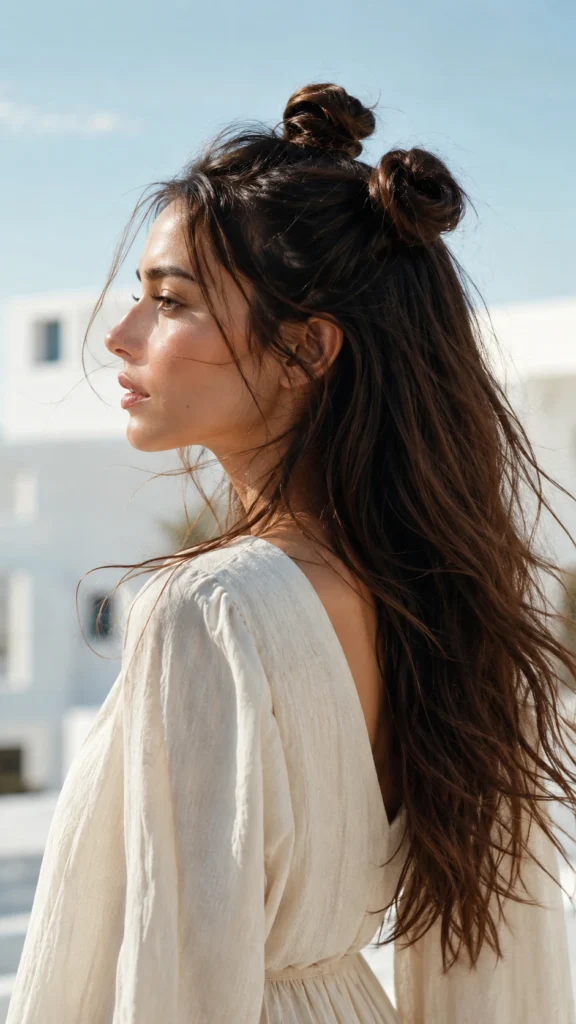
If you’ve got shorter hair or you’re just not feeling a full updo that day, this is where you land. You gather two sections from the crown of your head, twist or wrap them into small buns, and leave the rest of your hair down. A trick I picked up from working on shorter cuts is to grab a slightly smaller section than feels natural, because thinner buns actually hold their shape longer on hair that doesn’t have a ton of length to work with. It reads casual but still feels like you put thought into it.
4.Braided Space Buns
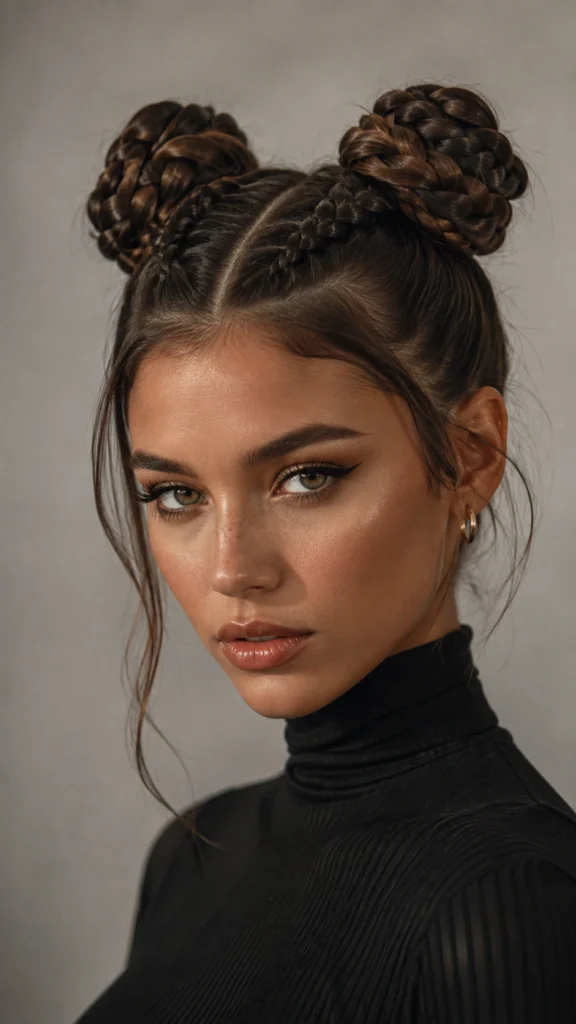
This one takes a bit more patience, so I usually save it for days when you’re not rushing out the door. If you enjoy creating easy side braid hairstyles, you will love this technique. You braid each ponytail before wrapping it into a bun, which gives you texture and dimension that a plain twist just can’t match.. My clients with thicker or curlier hair especially love this version because the braid adds grip, meaning the bun actually stays put through a full day of errands or a long shift on your feet. Once you’ve wrapped and pinned both sides, tuck the braid tail underneath so you don’t see a loose end sticking out awkwardly.
Got it, numbered headings from here on (like “5. Braided Space Buns with Ribbon”). I’ll retroactively number the first four when we compile the final article too.
5. Low Space Buns
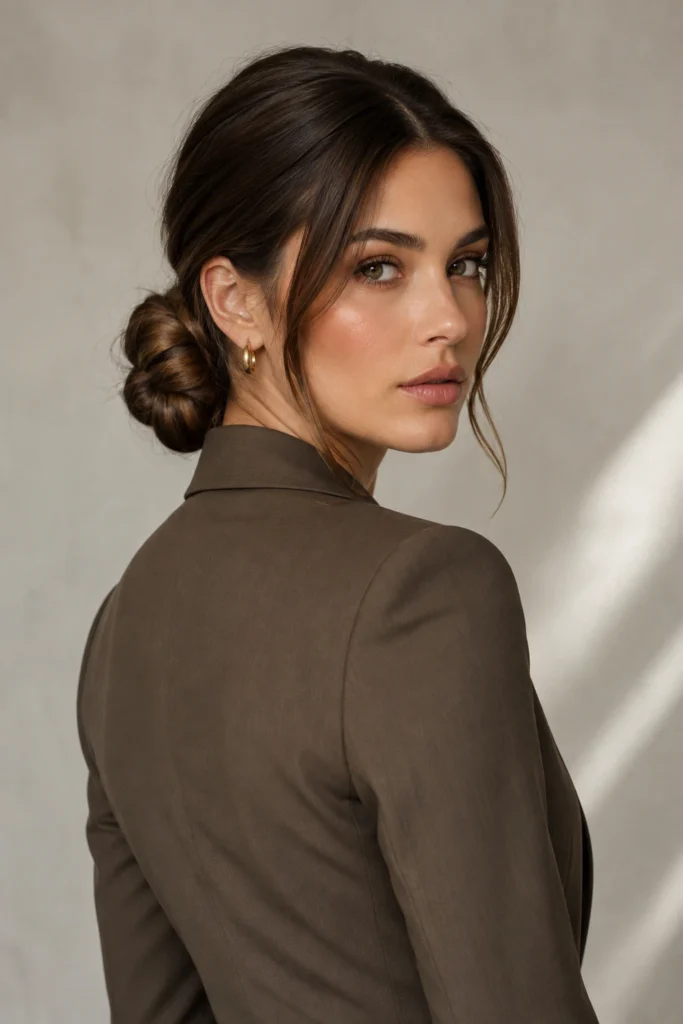
This is the one I reach for when a client wants something soft and a little more grown up, less pigtails, more your effortless days. Instead of placing your buns high on your crown, you drop them down near the nape of your neck. It gives off a completely different energy, almost vintage in a way.
- Part your hair into four sections instead of two
- Take the back two and twist them into low buns first
- Wrap the front pieces around the base for extra coverage
It reads a lot more office appropriate than the high version does.
6. Space Buns with Braids Woven In
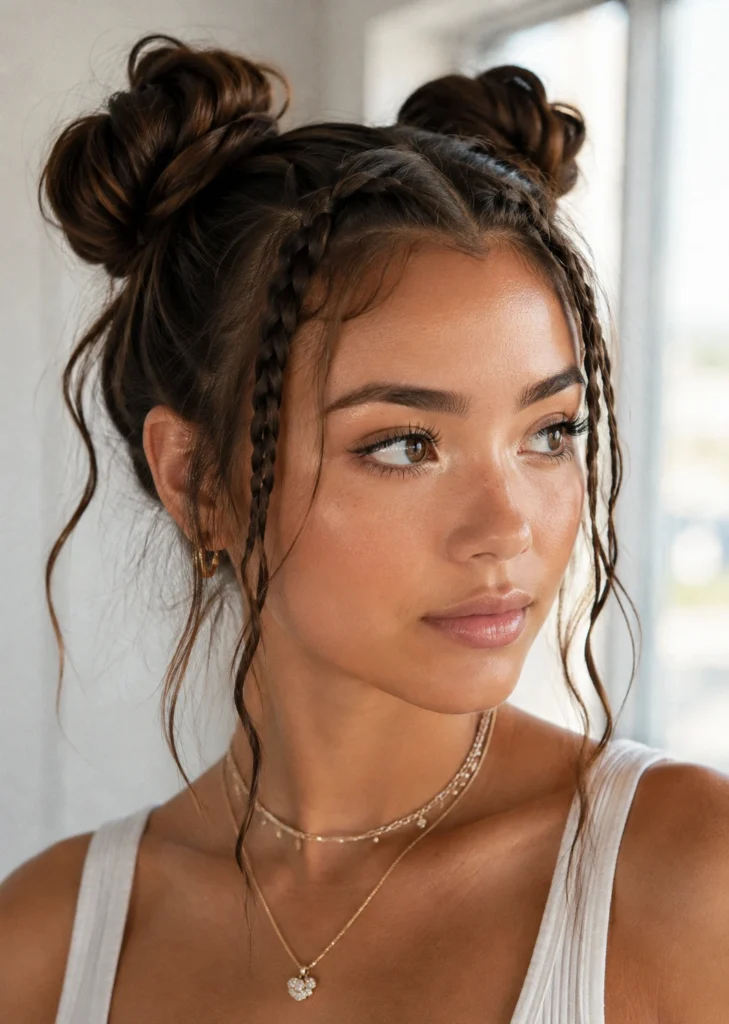
This is where things get a little more editorial. You start by braiding just the front sections of your hair before pulling everything back into your usual two ponytails and buns. The braid frames your face and adds a detail that makes the whole look feel more finished, even though it only takes an extra two or three minutes. I always tell clients who are nervous about braiding to keep it loose and chunky rather than tight and neat, since a slightly imperfect braid actually blends better with the messiness of the buns around it.
Baby Bangs Price Guide
| Look / Item | Estimated Price | Care Level | Where to Buy |
|---|---|---|---|
| Classic Sleek Space Buns | 15-30 dollars (boar bristle brush + gel) | Medium | Boar bristle brush on Amazon |
| Messy Undone Space Buns | Under 15 dollars (elastics + texture spray) | Low | Texture spray on Amazon |
| Braided Space Buns | 10-25 dollars (edge brush + gel) | Medium | Edge control brush on Amazon |
| Ribbon Wrapped Space Buns | 12-35 dollars (silk ribbon set) | Low | Silk ribbon set on Amazon |
| Curly and Coily Space Buns | 15-30 dollars (curl defining cream) | Low | Curl defining cream on Amazon |
| Mini Micro Space Buns | Under 10 dollars (small elastics) | Low | Mini hair elastics on Amazon |
7. Mini Micro Space Buns
Short hair does not disqualify you from this trend, and I wish more tutorials made that clear. Whether you are rocking a shoulder-length bob or a short bixie haircut, you can still create two tiny buns using small sections near your crown. They’ll look more like puffs than full buns, and that’s completely fine.
- Use small elastics made for finer or shorter hair
- Don’t fight the frizz, it’s part of the look
- Add a clip if the elastic alone won’t hold
Honestly some of my favorite space bun looks on clients have come from hair that was barely past chin length.
8. Ribbon or Scarf Wrapped Space Buns
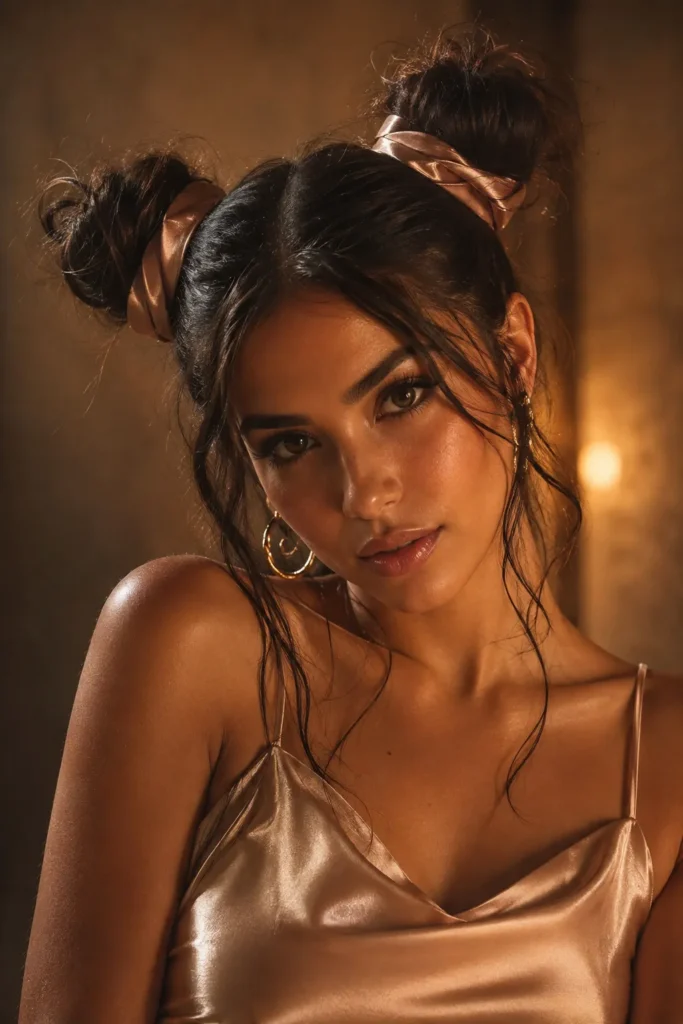
Wrapping a ribbon or thin scarf around the base of each bun instantly changes the whole mood of this style, taking it from casual to something that feels a little more put together for a night out. You simply wrap the fabric around the base a few times after you’ve secured your bun with an elastic, then tie it off or tuck the end underneath. A silk scarf gives a softer, almost romantic finish, while a grosgrain ribbon leans more playful and youthful. It’s a small addition that takes maybe thirty extra seconds but photographs beautifully every single time.
9. Curly and Coily Space Buns
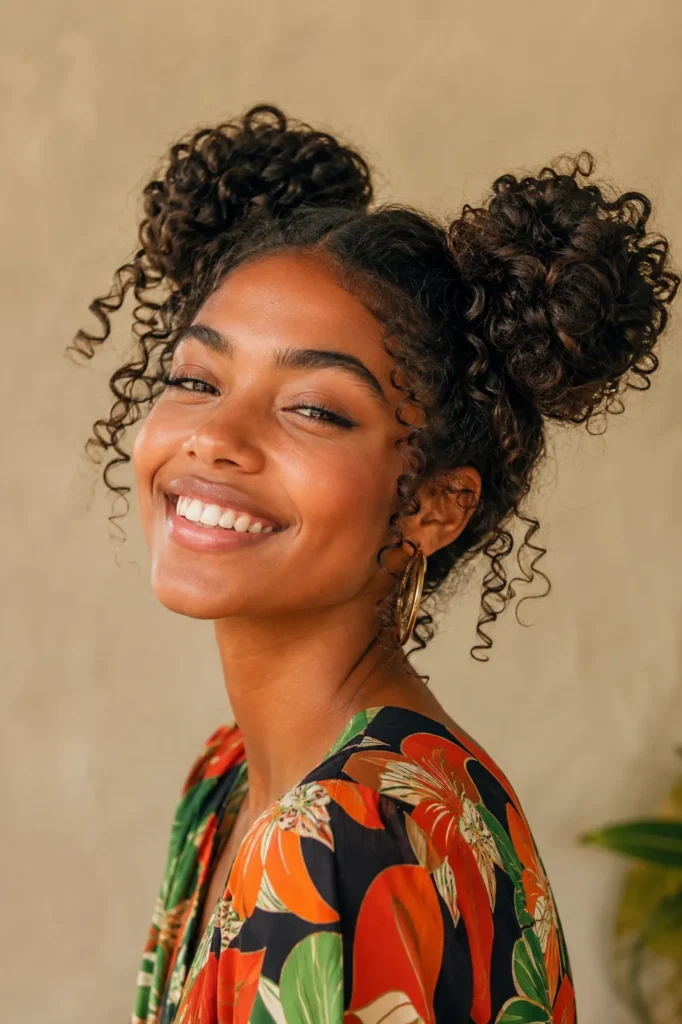
Curly and coily textures genuinely shine in this style because the natural volume does half the work for you. You don’t need to smooth anything down or fight your texture, you just gather, twist, and let it do its thing. I’ve noticed that clients with natural curls often skip the elastic wrap step entirely and just tuck the twisted section under itself, which keeps more shape and bounce than pulling it tight ever would.
- Use a curl defining cream instead of gel to avoid crunch
- Twist rather than smooth each section before securing
- Leave a few curls loose around the hairline for softness
10. Space Buns with Face Framing Tendrils
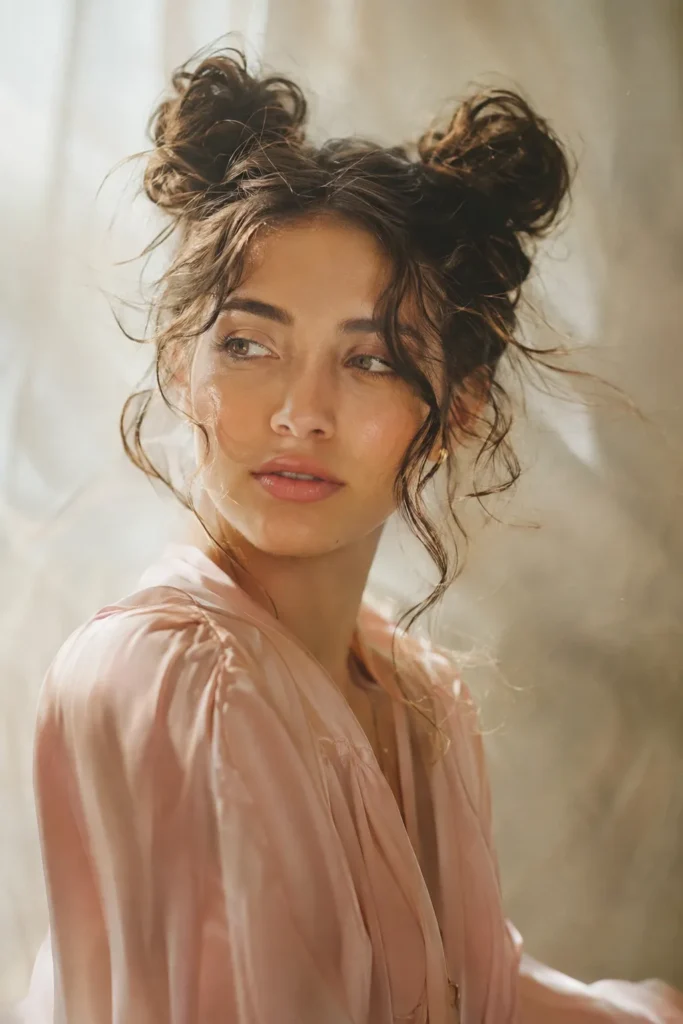
Pulling a couple of pieces loose around your face before you finish styling changes everything about how soft this look feels. Straight hair gives clean, sleek tendrils, while wavy or curly hair gives you these natural face framing pieces that barely need touching up.
A quick trick I’ve learned is to pull these pieces out before you spray anything, not after, because trying to loosen hair once it’s already stiff with product just breaks the shape you were going for.
11. Asymmetrical Editorial Space Buns
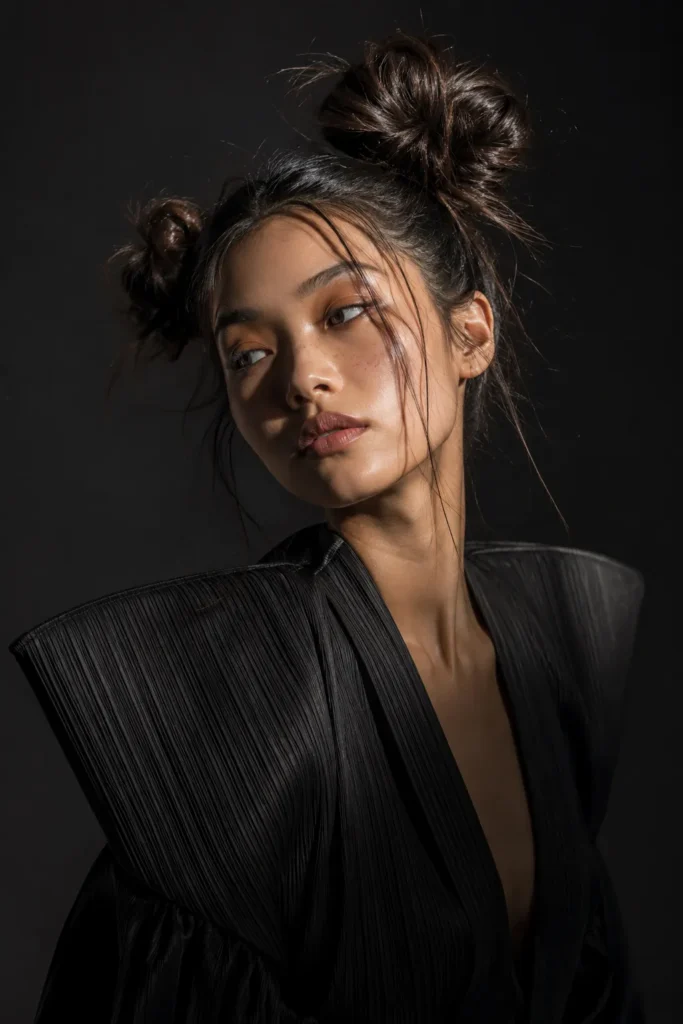
This is the version I’ll pull out for a client heading to a shoot or a night where they want something a little more directional. One bun sits higher than the other, sizes don’t match, and a few pieces stay deliberately undone. It looks complicated but it’s honestly more forgiving than the classic sleek version because nothing needs to be perfectly even. The imperfection is the entire point, so don’t overthink the placement once you get started.
12. Vertical Stacked Space Buns
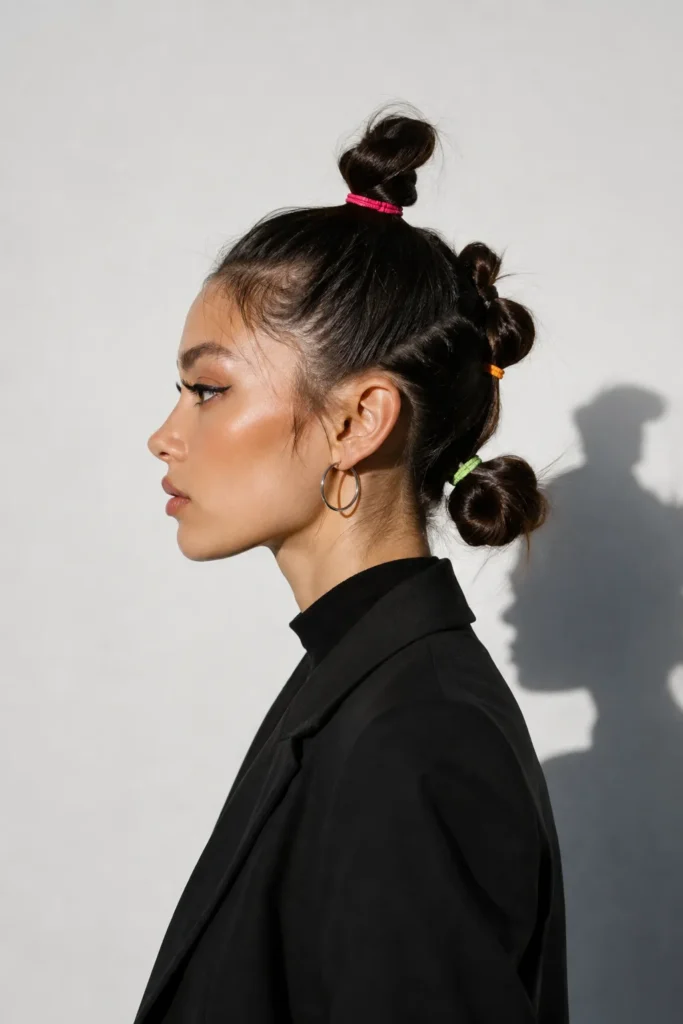
Instead of two side by side buns, this version stacks two or three smaller buns on top of each other down the center or side of your head. It reads almost like a modern take on a mohawk, and it’s a fantastic option if you want something that photographs as more unique without going full avant garde.
- Section your hair into two or three horizontal parts
- Secure each into its own small bun working upward
- Add colorful elastics or pins between each layer for contrast
13. Space Buns for Girls and Simple Everyday Wear
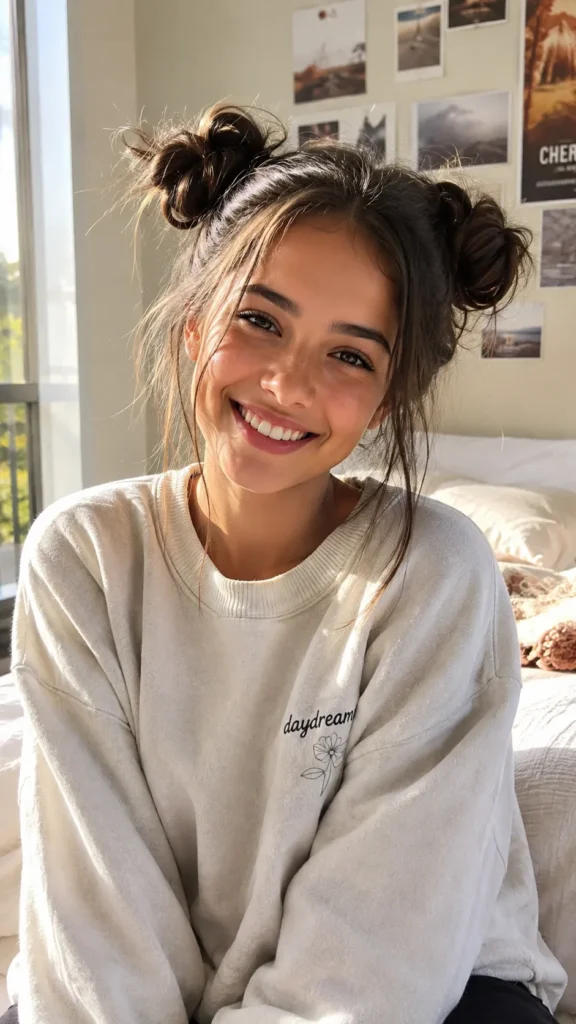
This last one is the version I always show moms wrangling little ones out the door, or honestly, anyone who just wants space buns without overthinking a single step. No braiding, no wrapping technique, just two clean sections gathered up and secured, nothing fancy required.
- Keep elastics soft to avoid tugging on delicate hair
- Skip the gel entirely for kids, a bit of leave in conditioner works fine
- Let ends stick out loosely instead of tucking them under
One thing worth knowing before you commit to any version of this style, tight buns worn all day can leave your scalp a little sore by evening, so I always loosen mine slightly a few hours in. And if you’re taking them out after a full day, finger comb through the base first before pulling elastics free, it saves you from losing more hair than you need to. Buns this cute shouldn’t come with a headache attached, so build in that little bit of ease from the start.
Your 30 Second Bun Picker
Budget Friendly Picks
- Messy Undone Space Buns, just elastics and texture spray
- Half Up Space Buns, works with tools you likely already own
- Space Buns for Girls, no gel required
Worth the Splurge
- Ribbon Wrapped Space Buns, a good silk ribbon set lasts years
- Classic Sleek Space Buns, invest in a real boar bristle brush
- Braided Space Buns, a quality edge brush makes braiding way easier
Busy Professionals
- Classic Sleek or Low Space Buns, polished without trying too hard
Hot Weather Styling
- Curly and Coily or Messy Undone, both handle humidity better than sleek styles
New Moms
- Space Buns for Girls or Half Up, fast, gentle, and toddler proof
Weekend Casual
- Messy Undone or Mini Micro, zero pressure, maximum comfort
Frequently Asked Questions
How long do space buns last in a day?
Yes, they can easily last a full workday if you wrap tightly and use a strong hold gel. On humid days, expect them to loosen a bit by the afternoon, so I always recommend keeping a few bobby pins in your bag for quick touch ups.
Are space buns good for thin hair?
The best option here is going smaller and lower rather than forcing two big high buns. Thin hair holds shape better in mini or half up versions, since there’s less weight pulling the elastic loose throughout the day.
Can I do space buns on wet hair?
I usually recommend against it, since wet hair buns tend to leave a crimped, awkward texture once dry. If you’re short on time, dry shampoo on damp roots works better than styling completely wet strands.
Do space buns cause hair damage?
Not typically, but wearing them too tight too often can lead to breakage near your hairline over time. I always tell clients to alternate bun placement day to day and avoid sleeping in a tightly pinned style.
What face shapes look best with space buns?
Honestly, most face shapes handle this style well, though round faces benefit from adding a side part or face framing pieces. Square and oval faces can pull off the classic centered version without any adjustment at all.
Conclusion
Thirteen ways in and I still catch myself trying new combos on clients, because that’s the beauty of a style this simple, there’s genuinely no wrong way to do it. Your hair doesn’t need to be perfectly behaved or freshly washed to look put together, it just needs five minutes and a little confidence to pull it off. So grab an elastic, pick whichever version matched your mood today, and give it a shot before you second guess yourself out of it. Which one are you trying first, the messy one or the sleek one? Tell me in the comments, I read every single one.