11 Updos for Fine Thin Hair That Create Instant Volume
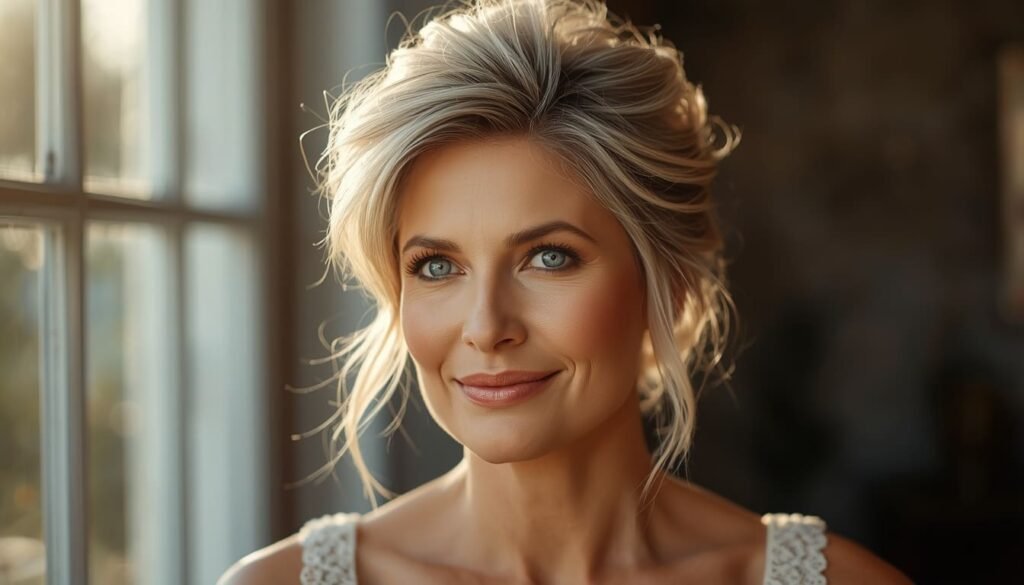
Fine hair doesn’t mean you’re stuck wearing your hair down forever it just means you need smarter techniques, not more hair.I’ve worked with hundreds of clients across Austin who walked in convinced their thin strands were “updo-proof.” Every single one of them left with a style that turned heads. The truth is, fine hair actually responds beautifully to the right updo one that builds volume from the roots up rather than relying on sheer density. In this guide, I’m sharing 11 of my absolute favorite updos for fine thin hair, each chosen specifically because they create the illusion of fullness without fighting your hair’s natural texture.
My Design Notes
I still think about Sarah every time a client sits down in my chair and says “my hair is just too thin for an updo.” Sarah came to me right here in Austin, Texas, about three weeks before her daughter’s outdoor Hill Country wedding. Her hair was fine, silver-blonde, and she hadn’t worn it up in years. She was convinced nothing would hold past the ceremony. We spent about an hour together testing three completely different styles. I kept coming back to a loose French Twist with a small hidden hair doughnut tucked inside for body, finished with two wispy face-framing pieces curled softly with a 1-inch barrel iron. When she saw the final result in the mirror, she actually teared up. That reaction is exactly why I do this work. Fine hair is never the obstacle the wrong technique is. And once you find the right one, everything changes.
Mastering Volume and Style: Proven Updo Techniques for Fine Thin Hair That Actually Work
1. The Tousled Low Bun
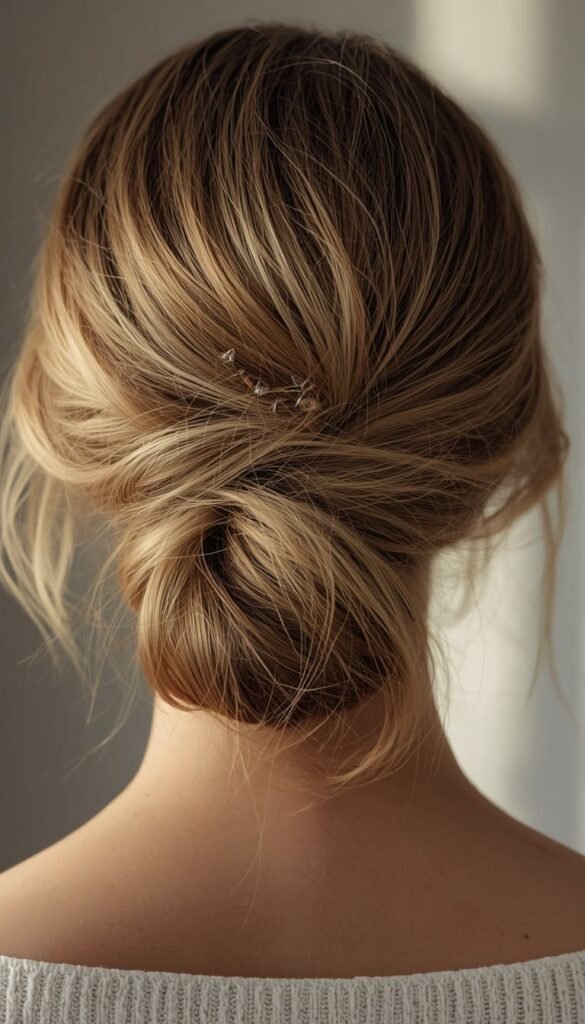
This is the style I recommend to almost every fine-haired client who wants something polished but isn’t willing to spend 45 minutes in front of a mirror. The tousled low bun is genuinely forgiving, and that’s exactly why it works so well on thin strands. Instead of fighting your hair’s natural lightness, this style leans into it.
Start by spritzing a texturizing spray through dry hair and scrunching it in with your fingers. Don’t brush it out. That slight roughness is what gives fine hair something to grip onto. Gather everything loosely at the nape of your neck, twist it into a soft knot, and pin it with bobby pins rather than a tight elastic.
A quick trick I’ve learned over years of working with fine-haired clients pull a few small sections loose around your face before you pin the bun down. Those wispy pieces do two things at once: they soften the overall look and they draw the eye away from any areas where the scalp might peek through.
- Use second-day hair if possible it holds far better than freshly washed strands
- A small hair doughnut tucked inside the bun adds instant fullness without any extra effort
- Finish with a light-hold hairspray, not a firm one, so the bun stays touchable and natural
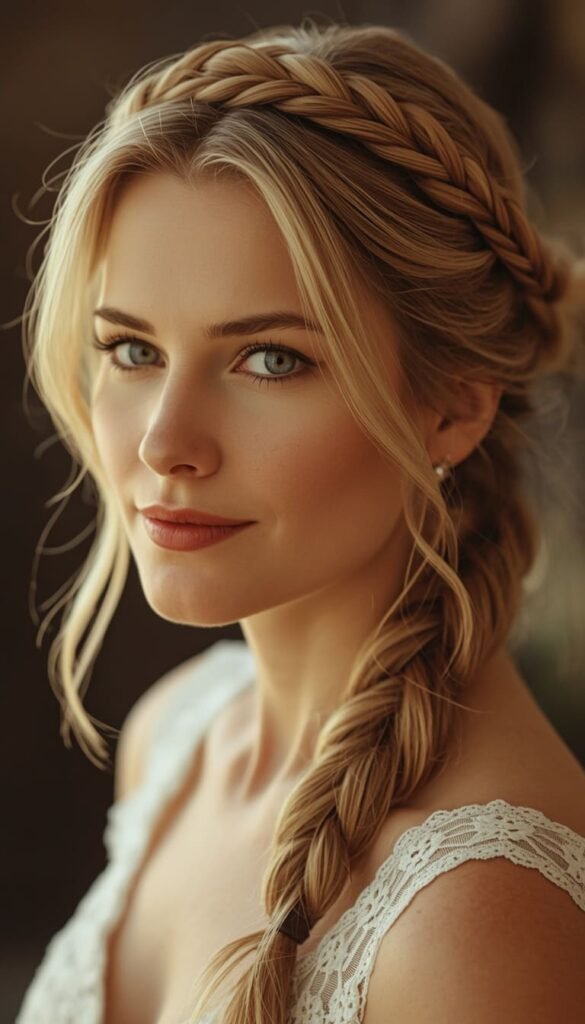
2. Loose French Twist with Face Framing Pieces
The French Twist has this reputation for being complicated, but I promise it’s one of the most achievable styles for fine hair once you understand why it works so beautifully. It creates vertical height along the back of the head, which immediately makes the hair appear thicker and more substantial than it actually is.
Curl your hair first with a 1-inch barrel iron before you do anything else. This single step changes everything. Curled strands have more grip, more texture, and they hold bobby pins like a dream. Gather your hair at the center back, twist the ends upward into a vertical roll from nape to crown, and pin generously along the fold.
One thing to watch out for is pulling the twist too tight at the temples. That tension is genuinely damaging to fine hair over time, and it also flattens the style rather than lifting it. Keep it soft. Keep it slightly undone. That’s where the magic lives with this particular updo.
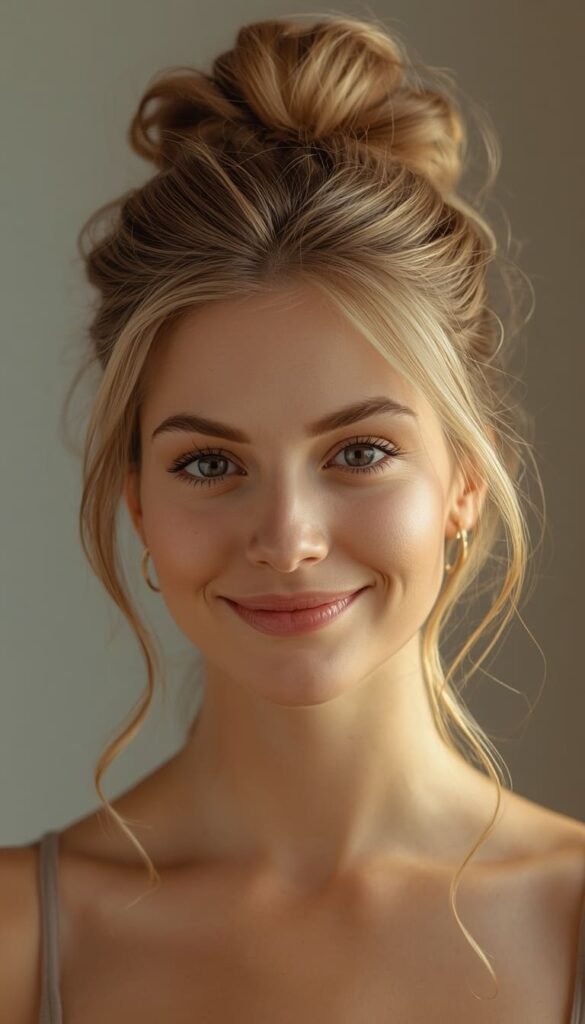
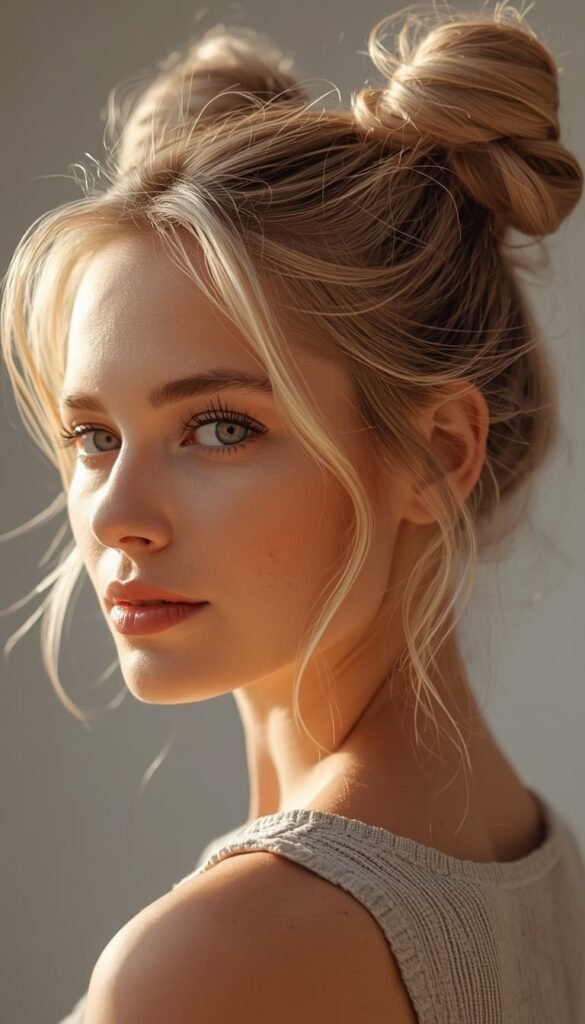
3. The Textured Messy Top Knot
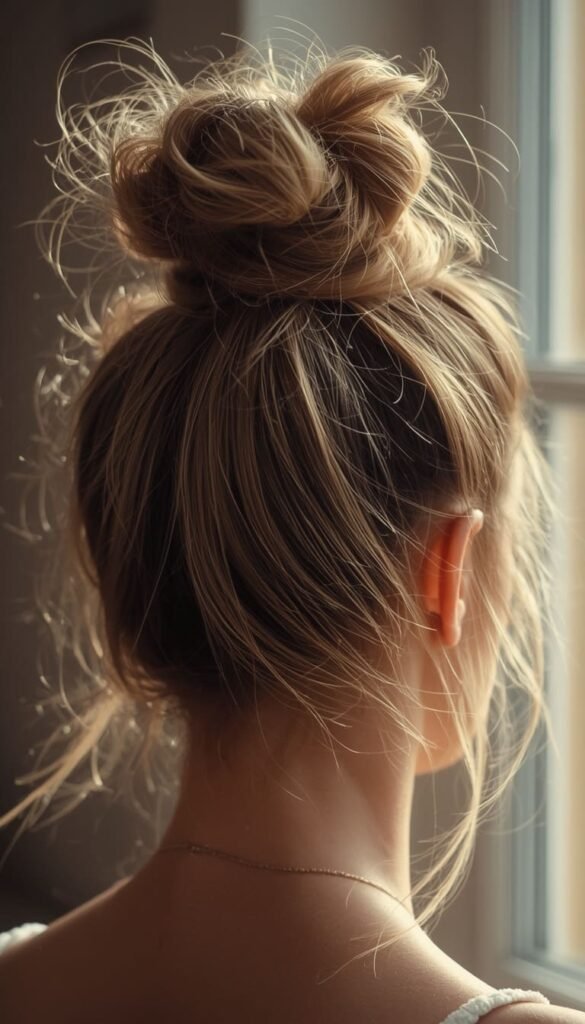
If there’s one style that consistently surprises my clients with how much volume it creates, it’s the textured top knot. Done right, this updo looks effortlessly full even on the finest of strands. The secret is entirely in the prep work the actual knot takes about two minutes once your hair is properly set up.
Blow dry a volumizing mousse into damp hair, flipping your head upside down as you go. That upside-down drying technique lifts the roots away from the scalp and builds a foundation that no amount of teasing can replicate afterward. Once dry, hit the roots with a dry shampoo even if your hair is clean it adds grit and grip that fine hair desperately needs.
Pull everything up high on the crown, backcomb the ponytail before wrapping it, and pin loosely so the knot sits with some air and texture rather than lying flat against your head.
- Place the knot slightly forward on the crown rather than dead center it reads as fuller from every angle
- Leave two or three short pieces loose at the nape for a relaxed, lived-in finish
- Skip the smoothing serum entirely for this style shine products will collapse your volume instantly
4. Braided Crown Halo
I want to talk about this one specifically for my readers who are navigating fine hair over 50 or 60, because the crown halo braid is genuinely one of the most flattering and practical styles in that season of life. It covers thinning areas along the part and hairline the two spots where fine hair tends to show its cards first while creating a look that feels romantic and completely intentional.
Work on second-day hair with a liberal mist of dry shampoo at the roots and a texture spray worked through the lengths. Side part the hair, then create a loose French braid starting at the hairline on one side, working it around toward the nape. Repeat on the other side, criss-cross the two braids at the back, and pin them in place.
The looseness of the braid matters more than people realize. Tight braids on fine hair around the temples can actually accelerate thinning in that delicate zone. Keep each plait relaxed, then use the tip of a fine-tooth comb to gently tug individual sections outward for that fuller, more voluminous appearance. It takes an extra three minutes and the difference is remarkable.
5. Airy Half Up Half Down with Velcro Roller Lift
I’ll be honest I resisted recommending the half-up half-down for years because I didn’t think it counted as a proper updo. Then I started actually listening to what my clients needed, and I changed my mind completely. For fine hair, this style is genuinely one of the smartest choices you can make. It lifts the crown where thinning is most visible while letting the lengths create the illusion of fullness below.
The velcro roller is the real hero here and it’s criminally underused. Roll one large velcro roller at the crown on dry hair, hit it with a quick blast of warm air, and let it cool completely before removing. That single step adds a dome of volume at the top that holds through an entire workday.
Loosely pull the sides back to meet in the middle, secure with a claw clip or pretty pins, and let the front pieces fall softly around your face. For round faces specifically, keep those face-framing pieces longer and slightly angled it elongates beautifully without any extra effort.
- A velcro roller works better than teasing for fine hair because it adds lift without causing breakage
- Avoid pulling the sides back too tightly tension flattens the crown volume you just created
- This style works on almost every length from a long bob upward
Which of these updos are you planning to try first the easy tousled low bun for everyday wear, or something more special like the French Twist for an upcoming event?
6. Sleek Low Ponytail with Wrapped Cord Trick
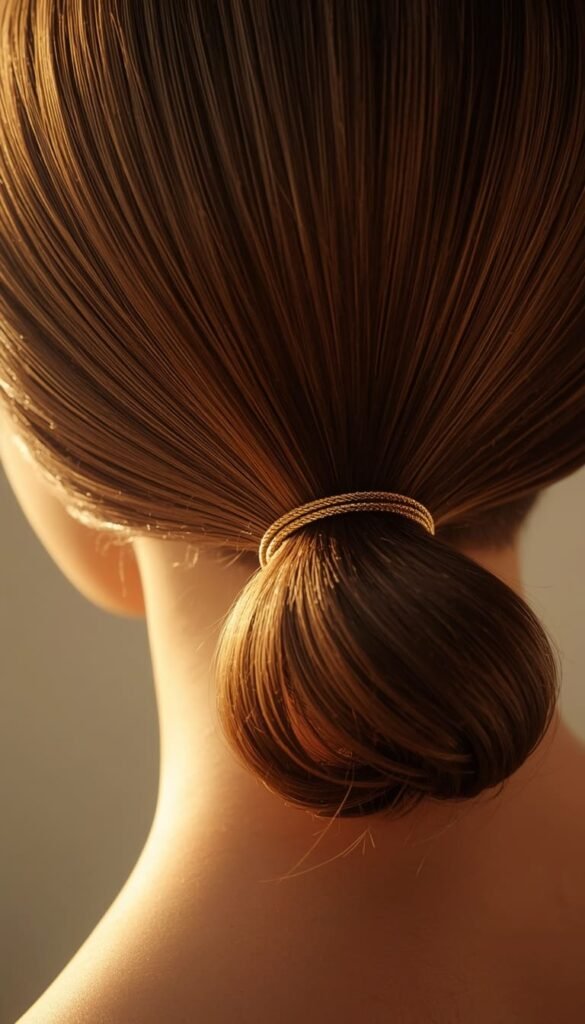
There is something endlessly elegant about a sleek low ponytail, and it’s one of those styles that photographs beautifully at weddings, office events, and dinner parties alike. The problem most fine-haired women run into is that a low ponytail can look wispy and thin at the base, which unfortunately draws attention to exactly what you’re trying to minimize.
This is where the wrapped cord trick completely changes the game. Instead of pulling a strand of your own hair around the elastic which only makes your ponytail look smaller you wrap a thin gold or satin cord around the base two or three times and tuck the ends under. It adds a visual weight and polish to the ponytail that makes it look intentionally styled rather than simply pulled back.
A quick trick I always share with clients before a formal event: use a small amount of pomade smoothed along the edges with a soft toothbrush to eliminate flyaways without flattening the body on top. Keep the crown ever so slightly lifted before pulling back, and you’ll have a ponytail that looks sleek and full at the same time.
Top 6 ideas:
| Idea | Estimated Price | Maintenance |
|---|---|---|
| Tousled Low Bun | $0 to $15 (pins + texturizing spray) | Low |
| Loose French Twist | $10 to $25 (barrel iron + bobby pins) | Medium |
| Voluminous Chignon with Hair Doughnut | $5 to $20 (doughnut + pins + spray) | Medium |
| Braided Crown Halo | $10 to $30 (dry shampoo + texture spray) | Medium |
| Sleek Low Ponytail with Wrapped Cord | $5 to $15 (cord + pomade + spray) | Low |
| Accessorized Twist Back | $8 to $35 (statement clip or barrette) | Low |
7. Faux Bob Tuck
This one genuinely feels like a cheat code and I mean that as the highest possible compliment. The faux bob tuck gives you the appearance of a thick, blunt bob without a single snip of the scissors which makes it perfect for anyone who loves the idea of a shorter style but isn’t ready to commit.
Create a side part first. Then divide your hair into two low ponytails at the nape of your neck. Loop the ends of each ponytail upward and tuck them under using U-shaped pins, securing everything with a few extra bobby pins to keep it locked in place. Pull a couple of face-framing pieces loose at the front and curl them softly.
What I love most about this style for fine hair is the optical illusion it creates. The tucked ends sit against the nape and read as a blunt, thick bob from every angle. One thing to watch out for though if your hair is very long, the tucked portion can feel heavy and start sliding down within a few hours. A generous mist of medium-hold hairspray along the tuck before pinning makes all the difference in longevity.
- This style works best on hair that falls between the shoulder and mid-back
- Use U-shaped pins rather than regular bobby pins for a stronger, longer-lasting hold
- A little dry shampoo at the roots before you begin gives fine hair the grit it needs to stay put
8. Voluminous Chignon with Hair Doughnut

The chignon is having a serious moment right now and I am completely here for it. But the version that works for fine hair looks nothing like the sleek, tight chignons you might be picturing. What we’re going for is something softer, slightly undone, and built with a secret weapon inside the hair doughnut.
A hair doughnut is a small foam ring that you wrap your hair around to create the appearance of a thick, full chignon even when your actual hair is quite fine. Choose one that closely matches your hair color, pull your hair through the center, fan it over the doughnut evenly, and pin everything in place. The result looks genuinely full and structured from across a room.
This is my go-to recommendation for bridal updos and formal occasions because it holds beautifully for hours, photographs stunningly, and requires very little touch-up throughout the day. Curl your hair before you begin, add a light texturizing spray, and finish the chignon with a few wispy pieces pulled loose at the temples. It looks like you spent two hours in a salon chair. The whole thing takes about twenty minutes once you’ve practiced it twice.
9. The Wispy Space Bun Set
I know what you’re thinking space buns are for teenagers. But hear me out, because the wispy, softened version of this style is genuinely one of the most volume-creating options available for fine hair at medium length, and it translates beautifully into casual-chic territory when done with intention.
The key difference between a youthful space bun and a sophisticated one is entirely in the texture and placement. These aren’t tight, high, perfectly round buns sitting on top of the head. They sit slightly lower, they’re deliberately imperfect, and they have wispy pieces falling loose around the face and nape that soften the whole silhouette.
Prep your hair with a volumizing mousse blown in from roots to ends, then divide into two sections. Twist each section loosely into a soft knot rather than a tight bun, and pin with bobby pins rather than elastics alone. Gently pull sections of each bun outward to create fullness before locking everything in place with hairspray.
- This style works surprisingly well on fine hair that’s been cut into layers the layers add natural texture inside each bun
- For a more grown-up finish, keep the buns at ear level rather than crown height
- A few face-framing curls made with a small barrel iron pull the whole look together instantly
10. Sculpted Pompadour Ponytail
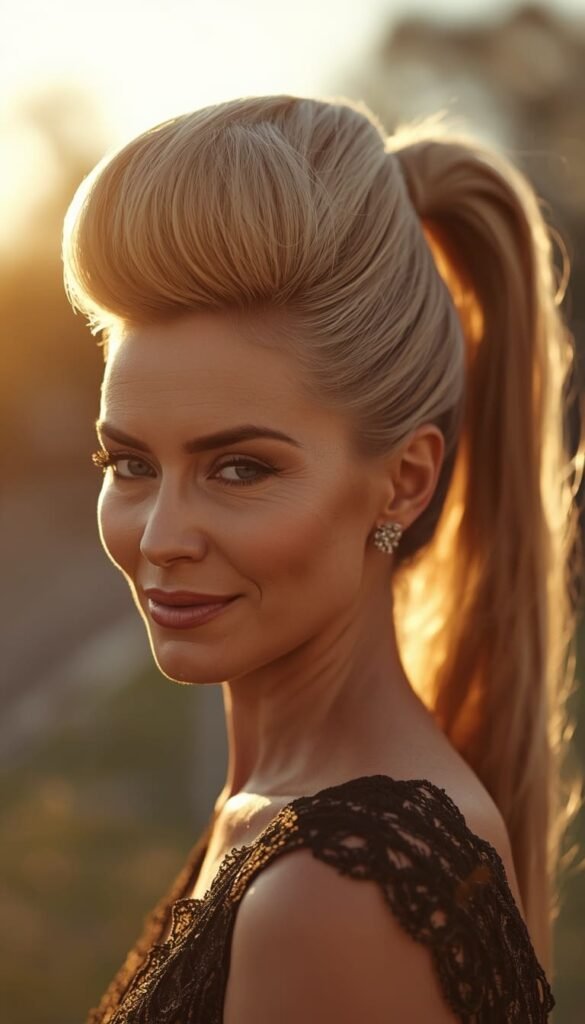
This is the style I reach for when a client wants serious impact with minimal time investment. The sculpted pompadour ponytail combines two volume-creating techniques front lift and ponytail placement into one look that works just as beautifully on fine hair over 60 as it does on younger women navigating thin strands for the first time.
Start by applying a root-lifting spray directly at the hairline and crown while hair is slightly damp. Blow dry that section first, using a round brush to direct the hair up and away from the scalp. That front section is everything in this style it creates the pompadour lift that gives the whole look its drama and presence.
Once the front is set, pull the remaining hair into a ponytail positioned high on the crown. Not a side pony, not a mid-height pony high, almost at the very top. That placement does something wonderful for fine hair. It stretches the silhouette vertically, making the hair appear denser and more voluminous from every angle. Backcomb the ponytail itself before finishing with a medium-hold spray.
One thing to watch out for with this style is over-smoothing the pompadour section. The moment you reach for a flat brush to tame it, you lose the lift that makes the whole look work. Embrace a little imperfection at the front it reads as intentional volume, not messiness.
Fine hair over 50 comes with its own set of challenges are you currently struggling more with volume at the crown or thinning around the hairline?
11. The Accessorized Twist Back
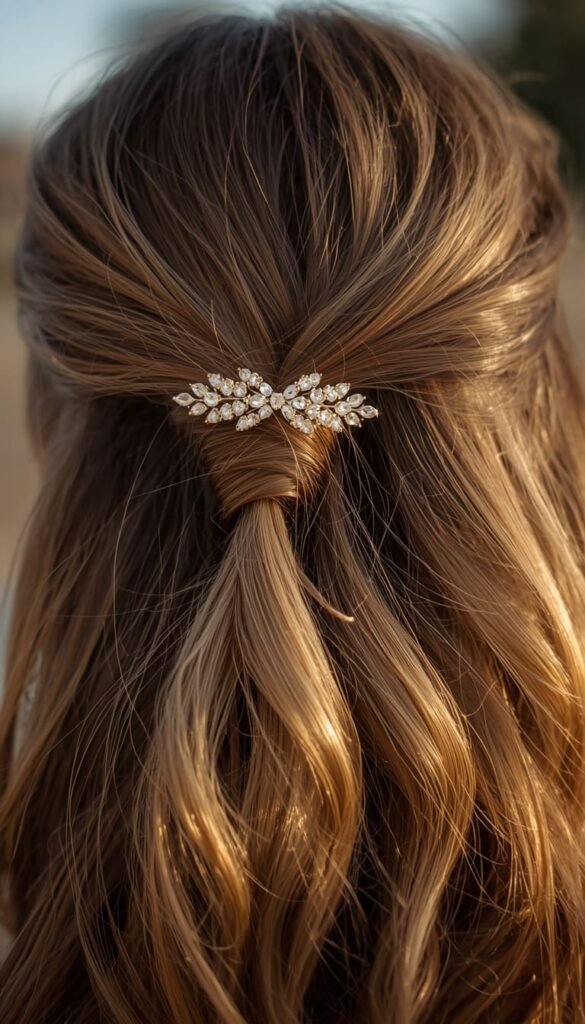
And here we are at number eleven my personal favorite for the mornings when time is genuinely not on your side. The accessorized twist back is a three-minute style that consistently looks like it took thirty, and for fine hair specifically, the right accessory does more heavy lifting than any product ever could.
Simply take two front sections of hair from either side of your face, twist them loosely back toward the crown, and secure them together with a statement clip, an embellished barrette, or even a pretty scarf knot. Leave the rest of your hair down or loosely gathered at the nape depending on your preference and the occasion.
What makes this work so beautifully for fine hair is the psychology of it. A bold hair accessory draws the eye immediately and holds attention there away from any thinning at the crown or sparseness at the temples. Dale Herne, stylist at Hershesons, puts it perfectly: accessories take the eye away from the absence of thickness and redirect it toward something intentional and beautiful.
This style works across every occasion from a Tuesday morning at the office to a summer wedding reception. For a more formal version, curl the loose lengths before twisting the front sections back, and choose an accessory with some sparkle or texture. For everyday wear, a simple tortoiseshell claw clip is all you need. Either way, you walk out the door looking pulled together in the time it takes your coffee to brew.
Your 2-Minute Updo Finder
By Budget
Starter (Under $20)
- Tousled Low Bun — bobby pins and a $8 texturizing spray is all you need
- Accessorized Twist Back — one good claw clip and you’re done
- Textured Messy Top Knot — dry shampoo from your cabinet, nothing else required
Investment ($20 to $50)
- Voluminous Chignon — add a hair doughnut ($5 to $12) and quality U-pins
- Braided Crown Halo — invest in a good texture spray and dry shampoo duo
- Sculpted Pompadour Ponytail — a root-lifting spray ($15 to $25) makes or breaks this look
By Lifestyle
The Busy Woman (5 Minutes or Less)
- Accessorized Twist Back — three minutes, zero stress
- Tousled Low Bun — second-day hair, five minutes, done
- Airy Half Up Half Down — one velcro roller, one claw clip, out the door
The Special Occasion Woman (Wedding, Formal, Bridal)
- Voluminous Chignon with Hair Doughnut — holds all day, photographs beautifully
- Loose French Twist — elegant, timeless, bridal-ready
- Braided Crown Halo — perfect for fine hair over 50, covers thinning areas gracefully
The Low Maintenance Woman
- Faux Bob Tuck — looks styled, requires almost no skill
- Wispy Space Bun Set — imperfect is the point, no precision needed
- Sleek Low Ponytail — smooth edges once and forget it
Frequently Asked Questions
Can you do an updo with very fine thin hair?
Yes, absolutely fine hair actually holds certain updos better than thick hair does. The key is prepping with texturizing spray and using second-day hair for extra grip.
What is the easiest updo for fine thin hair?
The tousled low bun wins every time. Scrunch in a texturizing spray, twist loosely at the nape, pin it, and pull a few face-framing pieces free.
How do I add volume to an updo when my hair is thin?
Start with a hair doughnut or velcro roller before styling. Both create fullness from the inside out without relying on the hair itself to do all the work.
What updos work best for fine thin hair over 50?
The braided crown halo and loose French Twist are my top two. They cover thinning areas at the part and temples while looking completely intentional and elegant.
How do I make a bun look fuller with thin hair?
Backcomb the ponytail before wrapping it into a bun. A hidden hair doughnut inside adds instant body — nobody sees it but everyone notices the difference.
Conclusion
Fine hair is not a limitation it never was. Every single style in this guide was chosen because it works with your hair’s natural lightness rather than against it, and I genuinely believe that once you try even one of these updos, you’ll stop seeing your fine strands as something to work around. Start small. Pick the tousled low bun or the accessorized twist back this weekend, grab a $10 texturizing spray, and give yourself twenty minutes in front of the mirror. That’s all it takes to change how you feel walking out the door.
Now I want to hear from you which of these 11 updos are you most excited to try first, and is there a specific occasion you’re styling for? Drop it in the comments below!